
How to Make Scented Wax Candles
I’ve been getting into scented candles in a big way lately so I was really excited to see how simple this project was!

We both got a bit glum this week. I’ve been really missing my friends and family for a while now and I’m no longer dreaming of exotic holidays, I just want a hug and a pint with my sister in the four elms. I asked Charlie what he was missing the most and unsurprisingly it was the pub too. So on the weekend I made us a pop up local from one of our empty Yard Sale Pizza boxes. I like to think it was my finest work to date and it did keep us amused for at least 15 minutes. We spent the evening in the pub while video chatting with friends on Saturday night. This could all be a sign of our diminishing sanity of course but whatever.
On Sunday I set about making my first scented candle. For some reason I was expecting it to be really messy with a high burning potential, but it wasn’t like that at all. Soy wax melts at a pretty low temp, so compared to making crispy chilli beef it was a breeze!
Project time – 1 - 2 hours
Price – About £4 - £12
Pros
Low cost, high value
Make it really personal by adding your own scents
Quick, simple and satisying
Cons
Potentially messy
Small risk of burning!
Scented candles are another thing that I didn’t used to really understand. I always found the scents too strong and sweet. But these days I’m obsessed! You can get some amazing scent combos at pretty good prices (Aldi’s lime, basil and mandarin, I’m looking at you). But making your own with personalised scents is definitely the way to go. It’s so straightforward and can be really cost effective. I would recommend using soy wax as it’s supposed to be better for your health and indoor environment as well as being a renewable resource. But of course, you can use whatever wax you have/prefer. I also made my own wick as an experiment but if you don’t fancy that, I’ve listed ready-made wicks below too.
Tools
Soy wax - I needed 200g to make a small jar sized candle. This wax is sold in 200g packs but there are lots of suppliers online and it gets cheaper as you buy more.
Candle wick - I made my own which I go into below but you can also buy them ready made here
Essential oils - I used these but it really depends what scents you want
Wax crayons if you want colour - these for example
Vessel for your candle - empty jars, water glass, mugs etc
Chopsticks/pencils
Empty tin can - I used a tin can to save ruining bowls or saucepans. The wax is actually quite easy to clean so you could use a kitchen bowl
Saucepan
Oven gloves
Scissors


I started by making my own wick. I wasn’t sure I was going to be making more than one candle so I didn’t want to buy multiples that I would never use. It was really easy and a nice recycling project. Charlie has a whole bag full of strings and ribbons from various presents/online orders/packaging so I found a piece of Nuscene twine that I bought from House by Betty a few years ago. I thought Nutscene would be a good option because it is made from ethically sourced materials, from sustainable crops. Jute in particular is an environmentally beneficial crop, Rain fed, fast growing , will grow on wastelands and improves the soil for future crops, it also reduces CO2.
You should treat your string/twine with borax if you want it to burn taller for longer but I didn’t have any so went straight for it. If you want to try with borax, I found this blog quite useful.
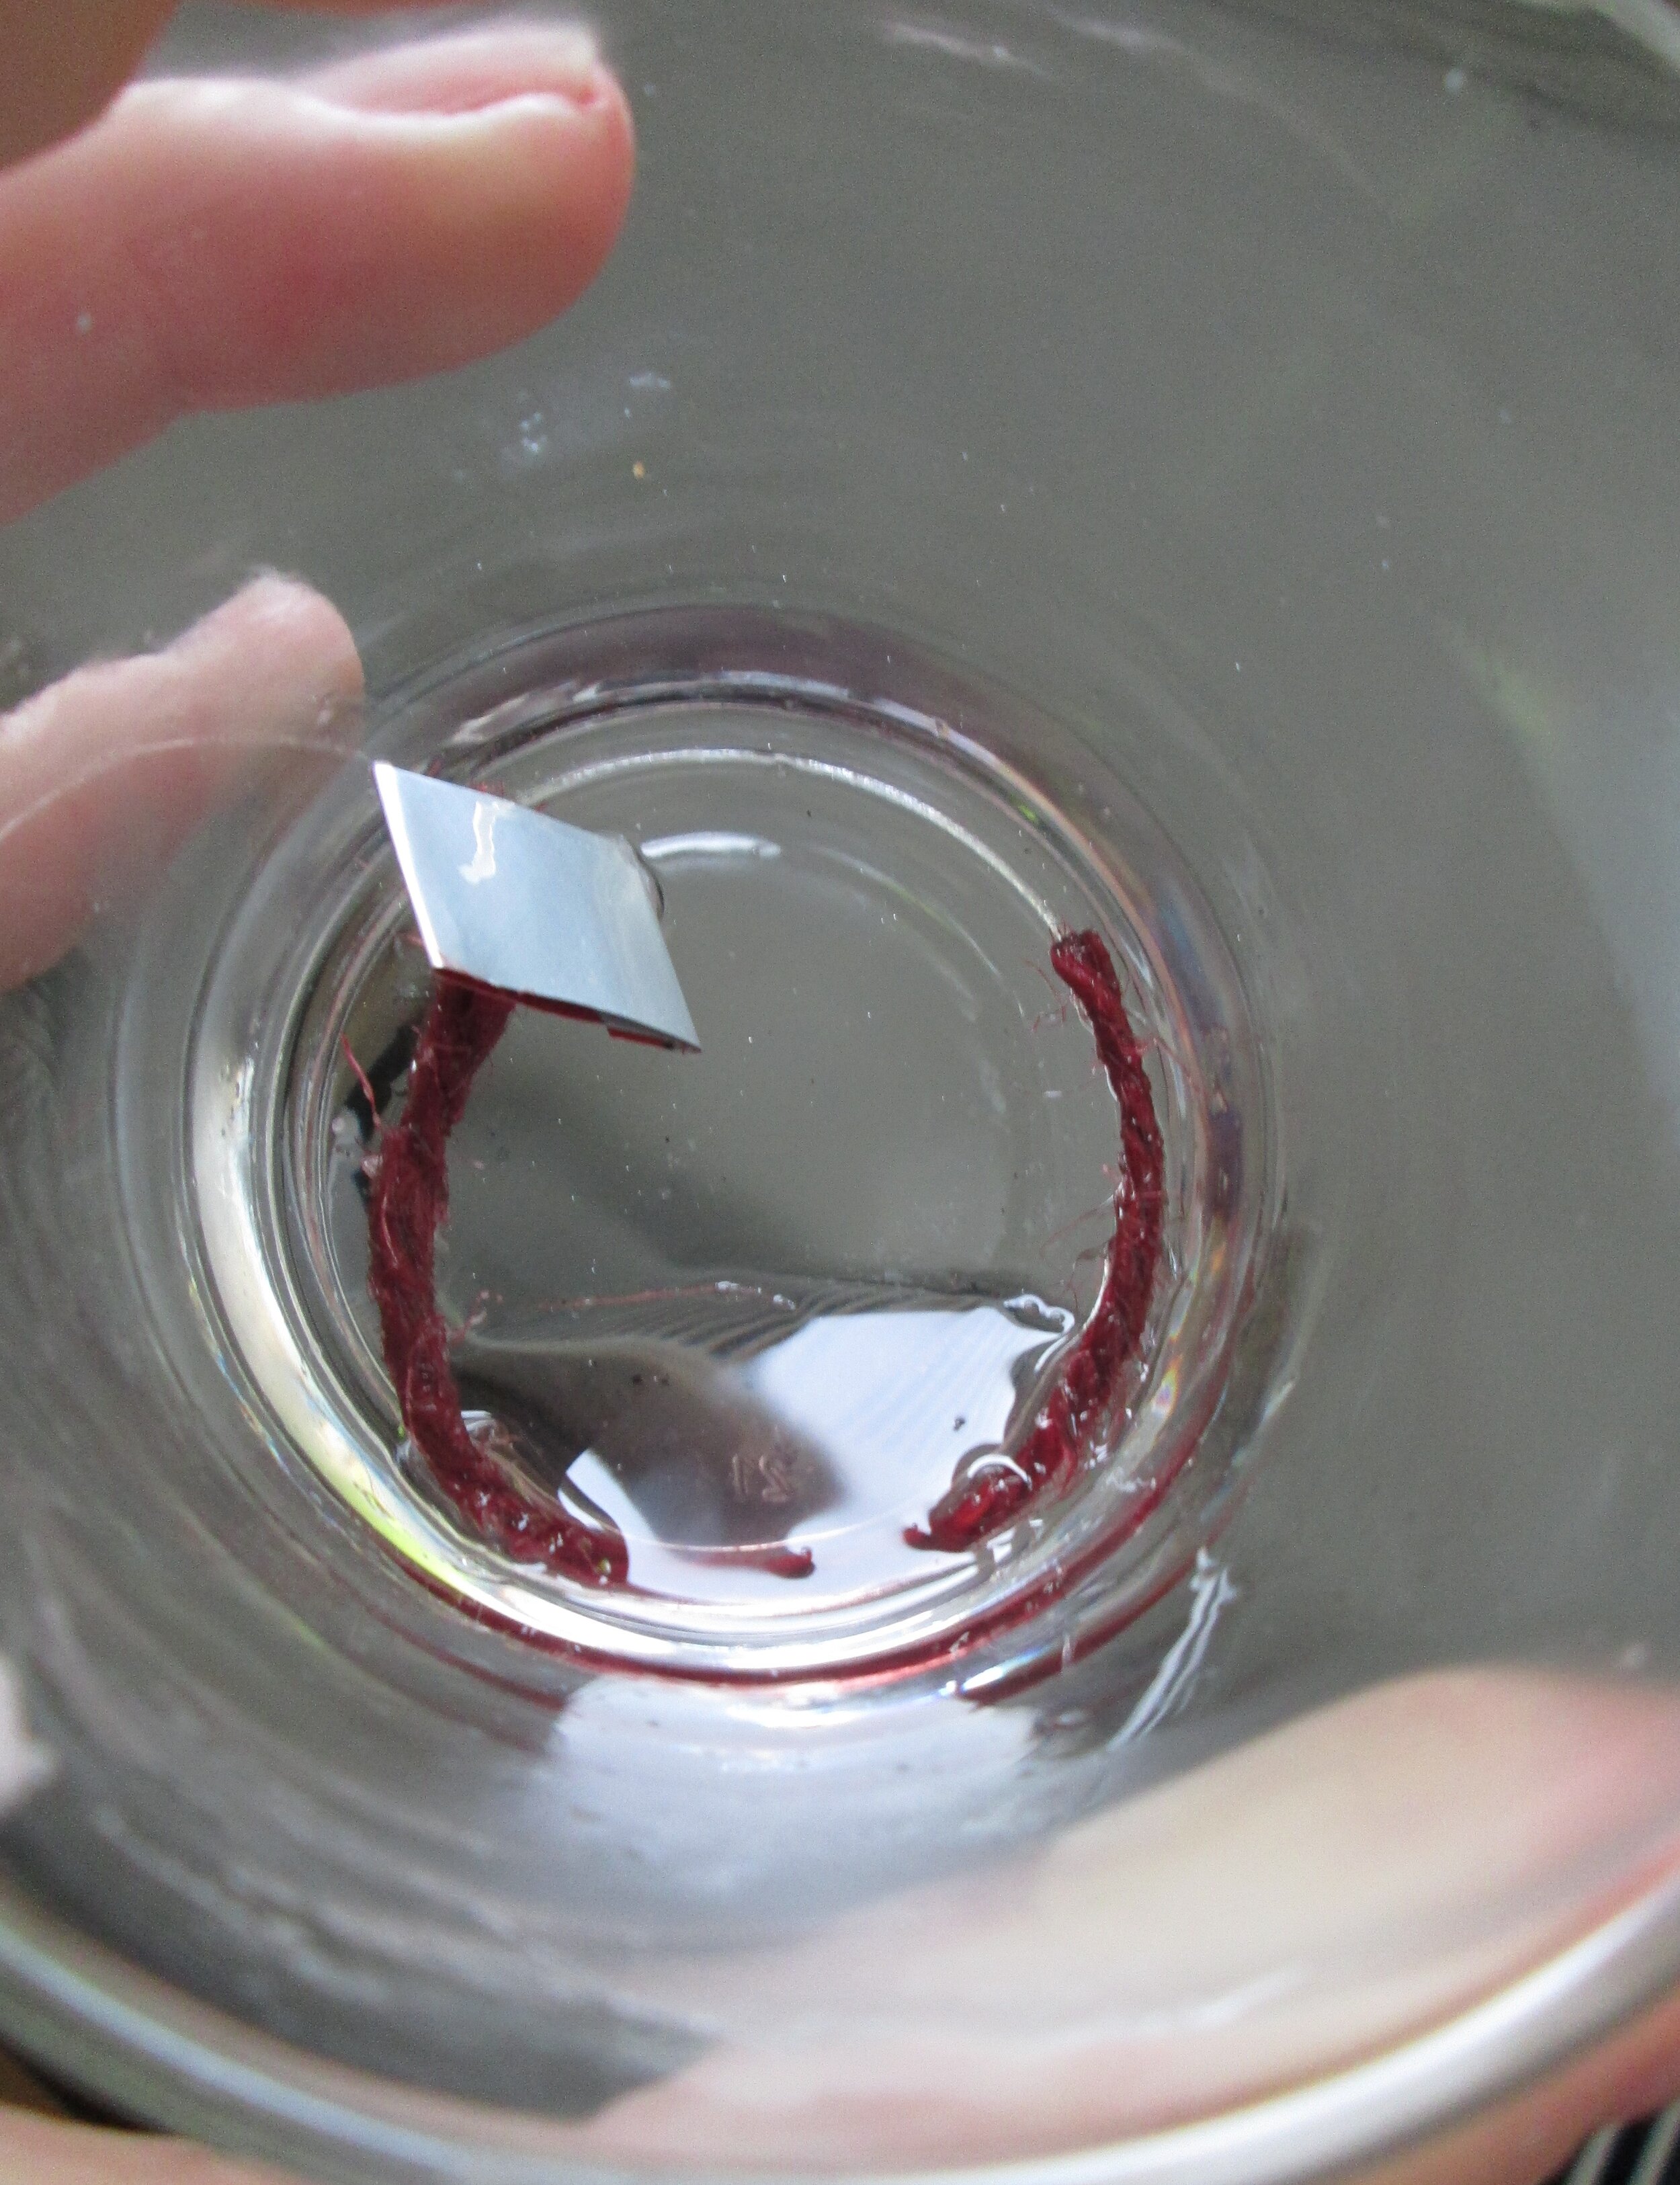
I started by cutting a strip from an aluminium can and piercing a hole in the middle with a nail. I then pushed the twine through the hole and tied a knot on the other side. Then I folded the sides of the aluminium strip around the knot so it was flat on the bottom. I then measured the string against my candle vessel and cut it to size with about 1cm above the height of the vessel.
I used the microwave to melt a little bit of wax so I could dip the ‘wick’ and coat it with wax. I did this twice and then squeezed the ‘wick’ between my fingers to get the wax running all the way through and then straightened it out and left it to dry. Be really careful melting the wax in the microwave, don’t walk away and leave it running. I microwaved for one minute at full heat and the glass was too hot to handle so make sure you have oven gloves to hand. If you’re not comfortable using the microwave, use the method below to melt your wax.


Once you have all your tools and materials ready, start by laying newspaper down in your work area. It’s easy to have little spillages and the newspaper will make it a whole lot easier to clean up.
Measure your wax flakes by filling your vessel twice and emptying them into the clean tin can that you will be using to melt the wax. The flakes will reduce to approximately half the volume when they’re melted, so you’ll need twice the volume of your vessel.
I chose a relatively small glass for my vessel so it was easy to fit all the flakes in the tin can. If you want to make a bigger candle, you may need a bigger bowl for melting. Just be prepared to give it a good clean afterwards.
If you want to colour your candle, now is the time to add your wax crayon. I snapped off the end of a crayon to just give a light pastel colour but you can add more if you want a deeper colour. I realised after I’d added the crayon that I should have cut it down into smaller shavings as the melting point was much higher than the soy wax. It still worked but did leave a few bigger chunks in there that I had to fish out. Just one word of warning, the more crayon you add, the higher the melting point of your candle will be. This can cause your candle to burn too slowly and ruin your wick.

Half fill your saucepan with boiling water and place your tin can inside. Place the saucepan on a very low heat and keep an eye on it as the wax melts. Give it a stir every so often with your chopstick. It shouldn’t take too long to melt fully, a few minutes should do it. Turn off the heat when it is fully melted and use the oven gloves to remove it from the saucepan.

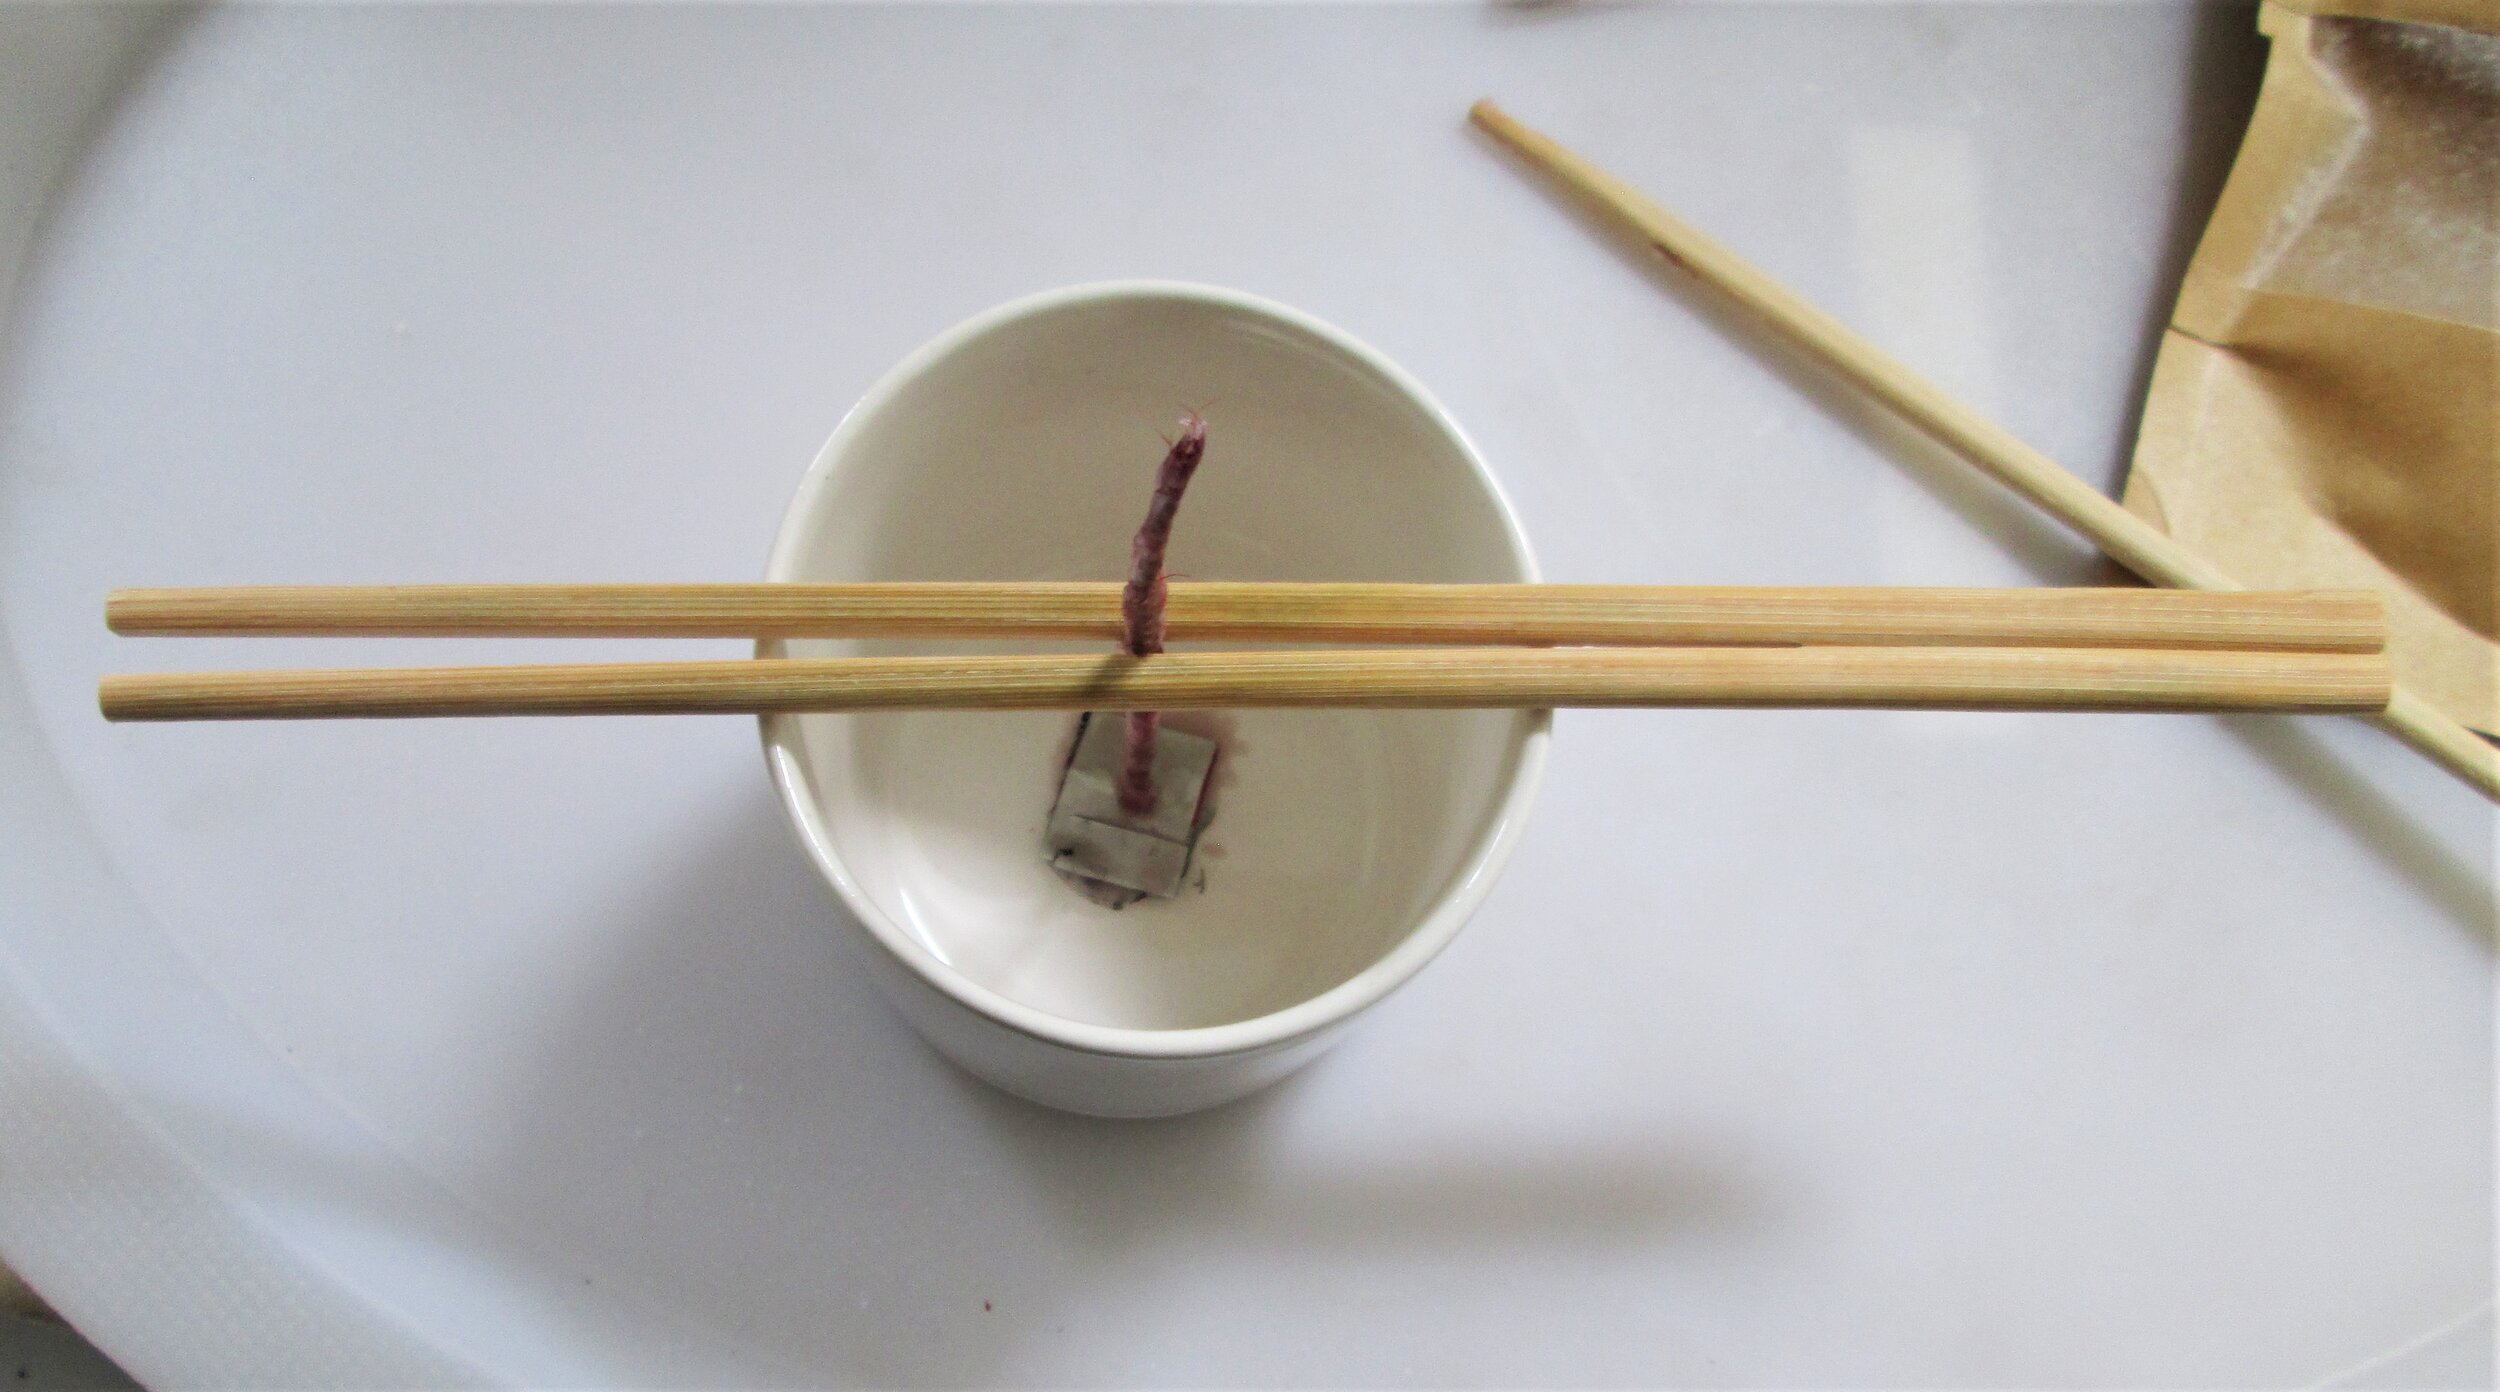
Next you will need to stick your wick in place. Dip the metal end of your wick in the melted wax and then position in the centre of your candle vessel. Support it with your chopsticks or a couple of pencils so it doesn’t fall over before it dries fully. If you are making your own wick, you can use some of the leftover wax at that stage to stick the wick in place. Leave it to dry for a few minutes.
While you’re waiting for your wick to stick, you can add your fragrance. You should let your wax cool a little bit before you add the scents as the heat can reduce the strength. I added about 40 drops of lavender essential oil but you can add more or less depending on how strong you would like it.
Now you are ready to pour your wax into your vessel. Use oven gloves to pick up your tin can and carefully pour the wax into the vessel, being careful not to knock your wick over. I have read that you should keep a little bit of wax in case your candle dips in the middle as it dries, but I forgot to do this and it wasn’t a problem.


Leave your candle to dry for at least 4 hours and then snip the wick to size.
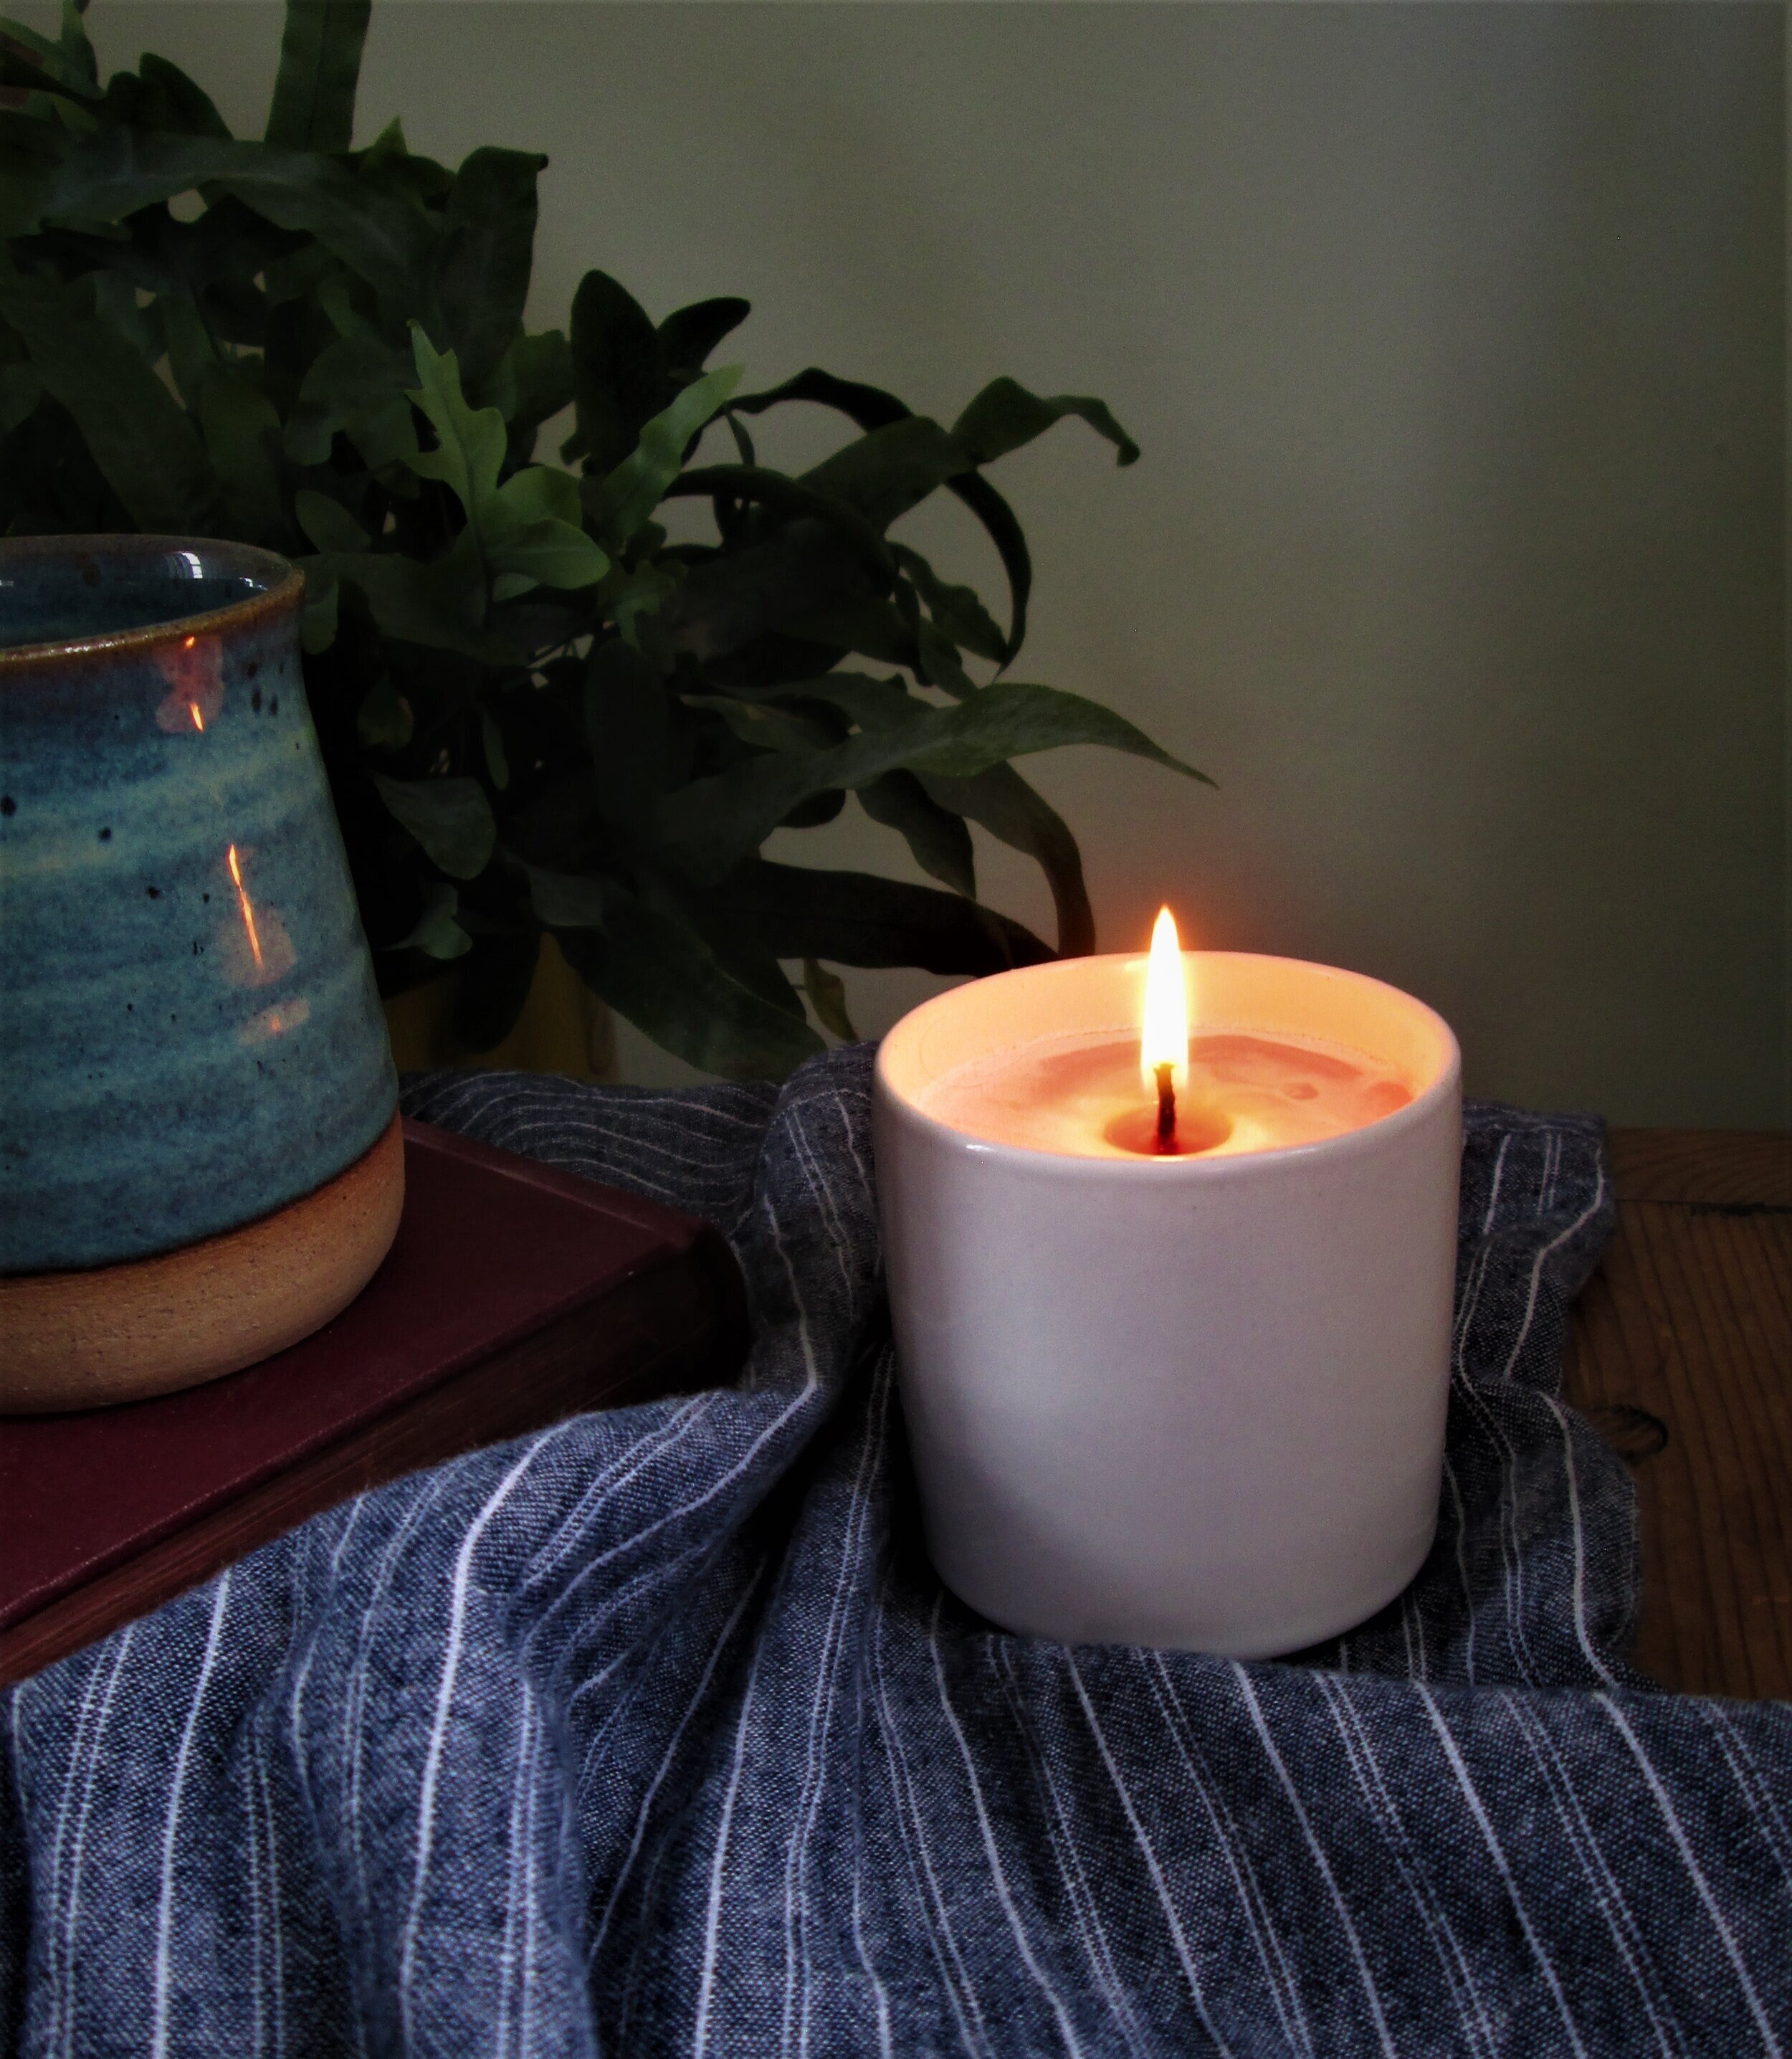
Your candle is now ready!

Charlie has a few half burned candles lying around the place so the next thing I want to try is recycling a couple of them. The wick has failed in one so it’s useless as it is. If you don’t want to buy wax and/or you’re interested in reusing and recycling, you could easily recycle old candle ends by melting them down and pouring them into a new vessel with a home made wick. You could use an ice tray as a mould if you fancy making little emergency tea lights.

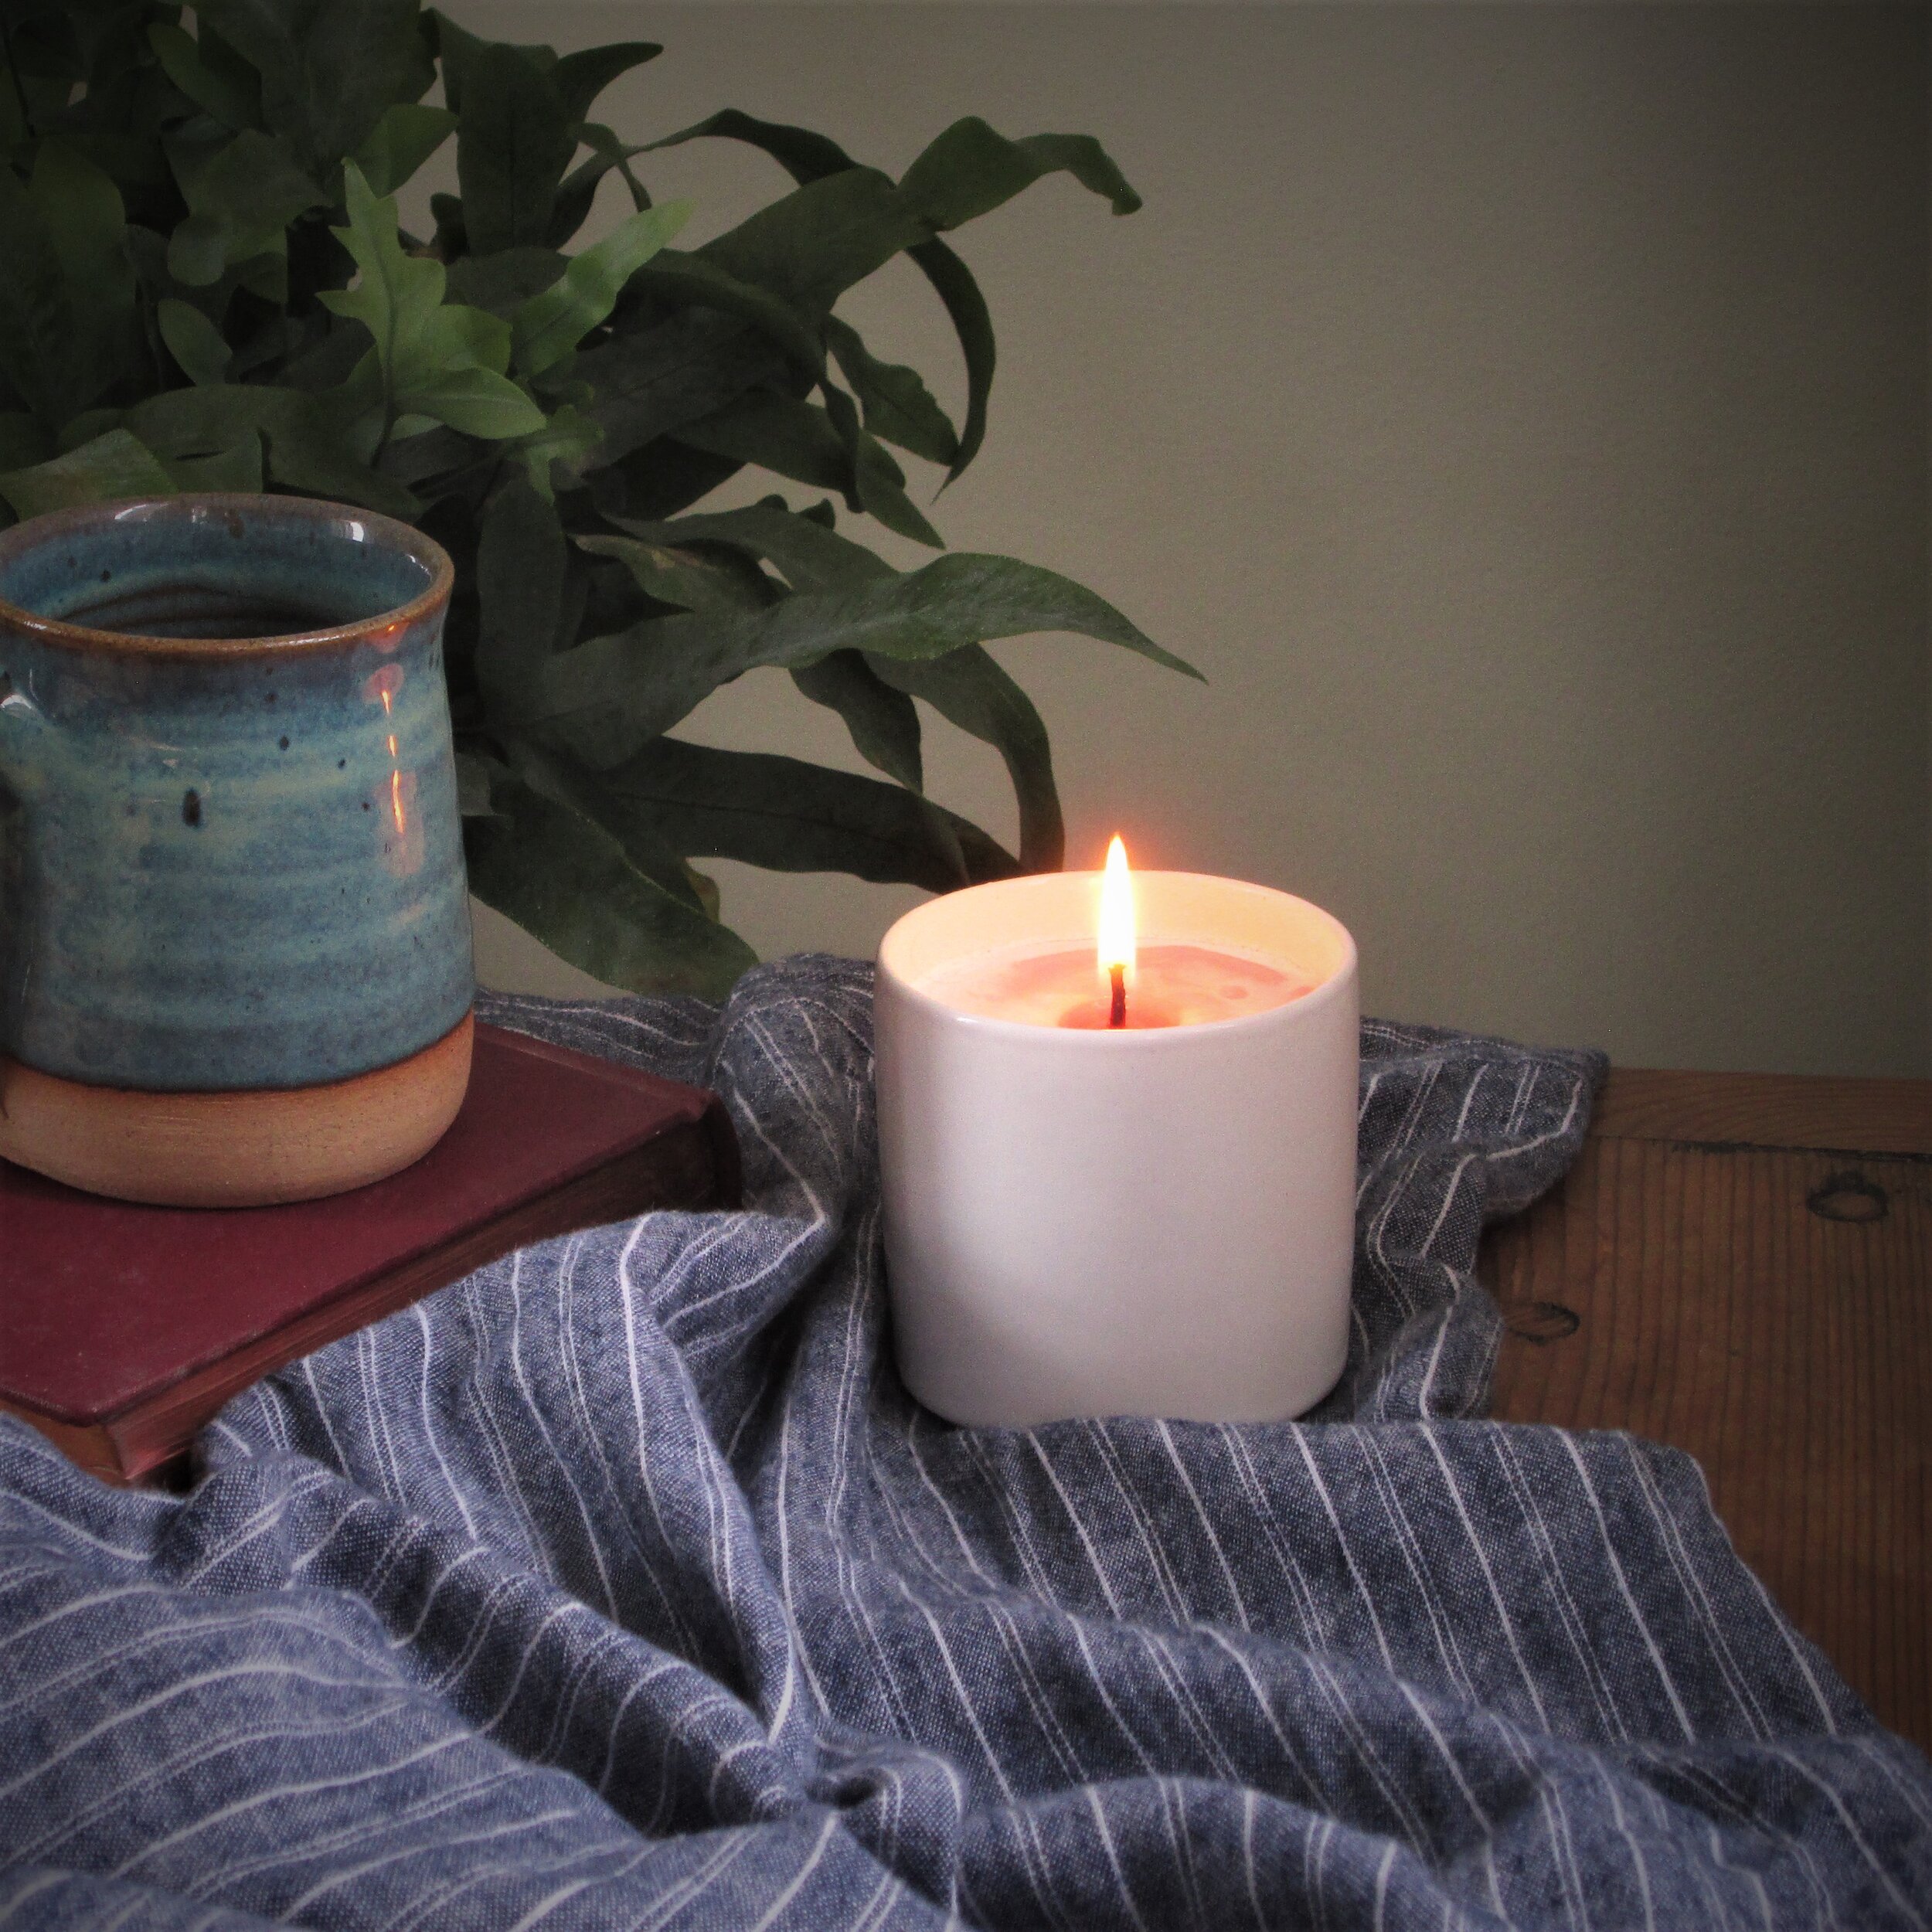
I’m really chuffed with my candle. I actually can’t believe my home made wick burns so well. But I think the best thing about making my own is knowing they’ve got no unnecessary chemicals in them. This candle is made with soy wax, natural essential oils and a natural jute wick. I don’t think you can get much better than that!
If you’ve finished reading and are now thinking about how much you love scented candles, I can fully recommend Anna Palamar for candles and workshops. She’s lush and her candles are too.