
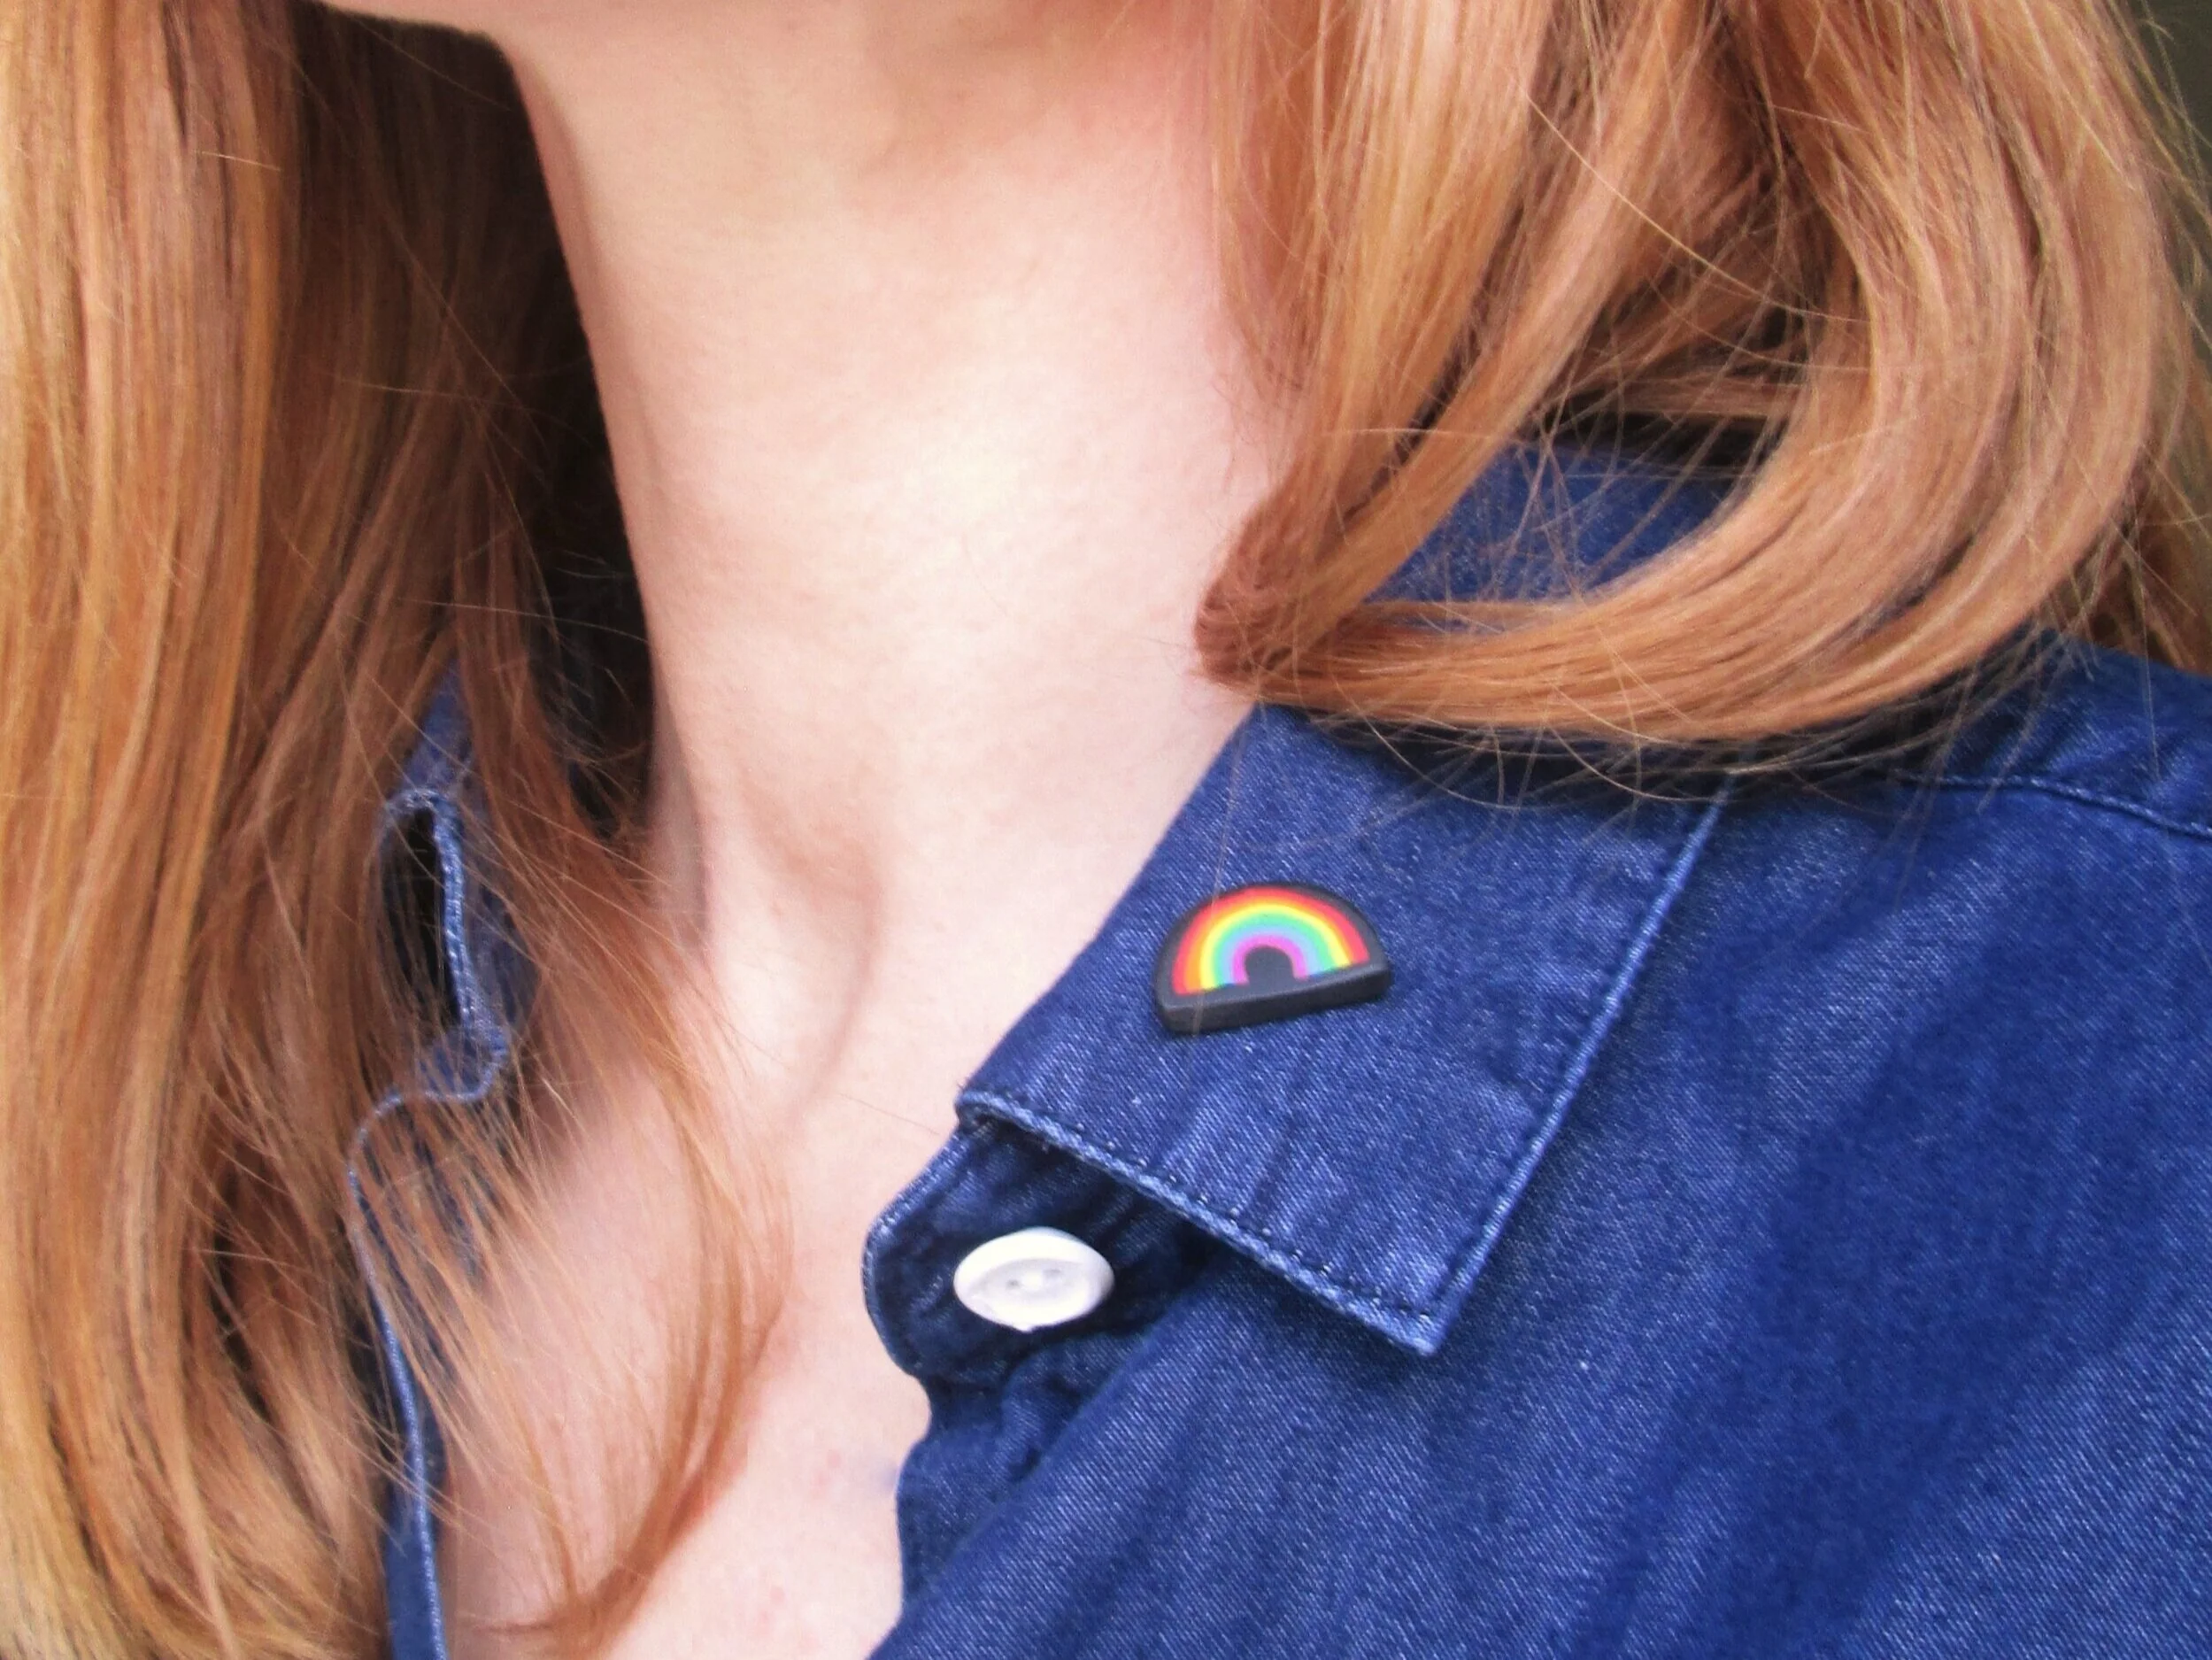
Make a Mini Rainbow Pin
Making rainbows is not just for kids!
Every Thursday I lean out of the window in the flat and clap for the NHS, carers, bin men, postmen, shop assistants, delivery drivers, bus drivers and everyone in between keeping us alive, safe and comfortable. To me, the rainbows in peoples windows are a way to show hope, solidarity and to say thank you to all those people risking their lives. (I would like to be absolutely clear here and say that clapping in the street is by no means a substitute for pay rises and sufficient PPE, but I’m not going to get into that here) Taking the time to make my own rainbow was a really lovely way to feel connected and united in appreciation. Making rainbows is not just for kids!
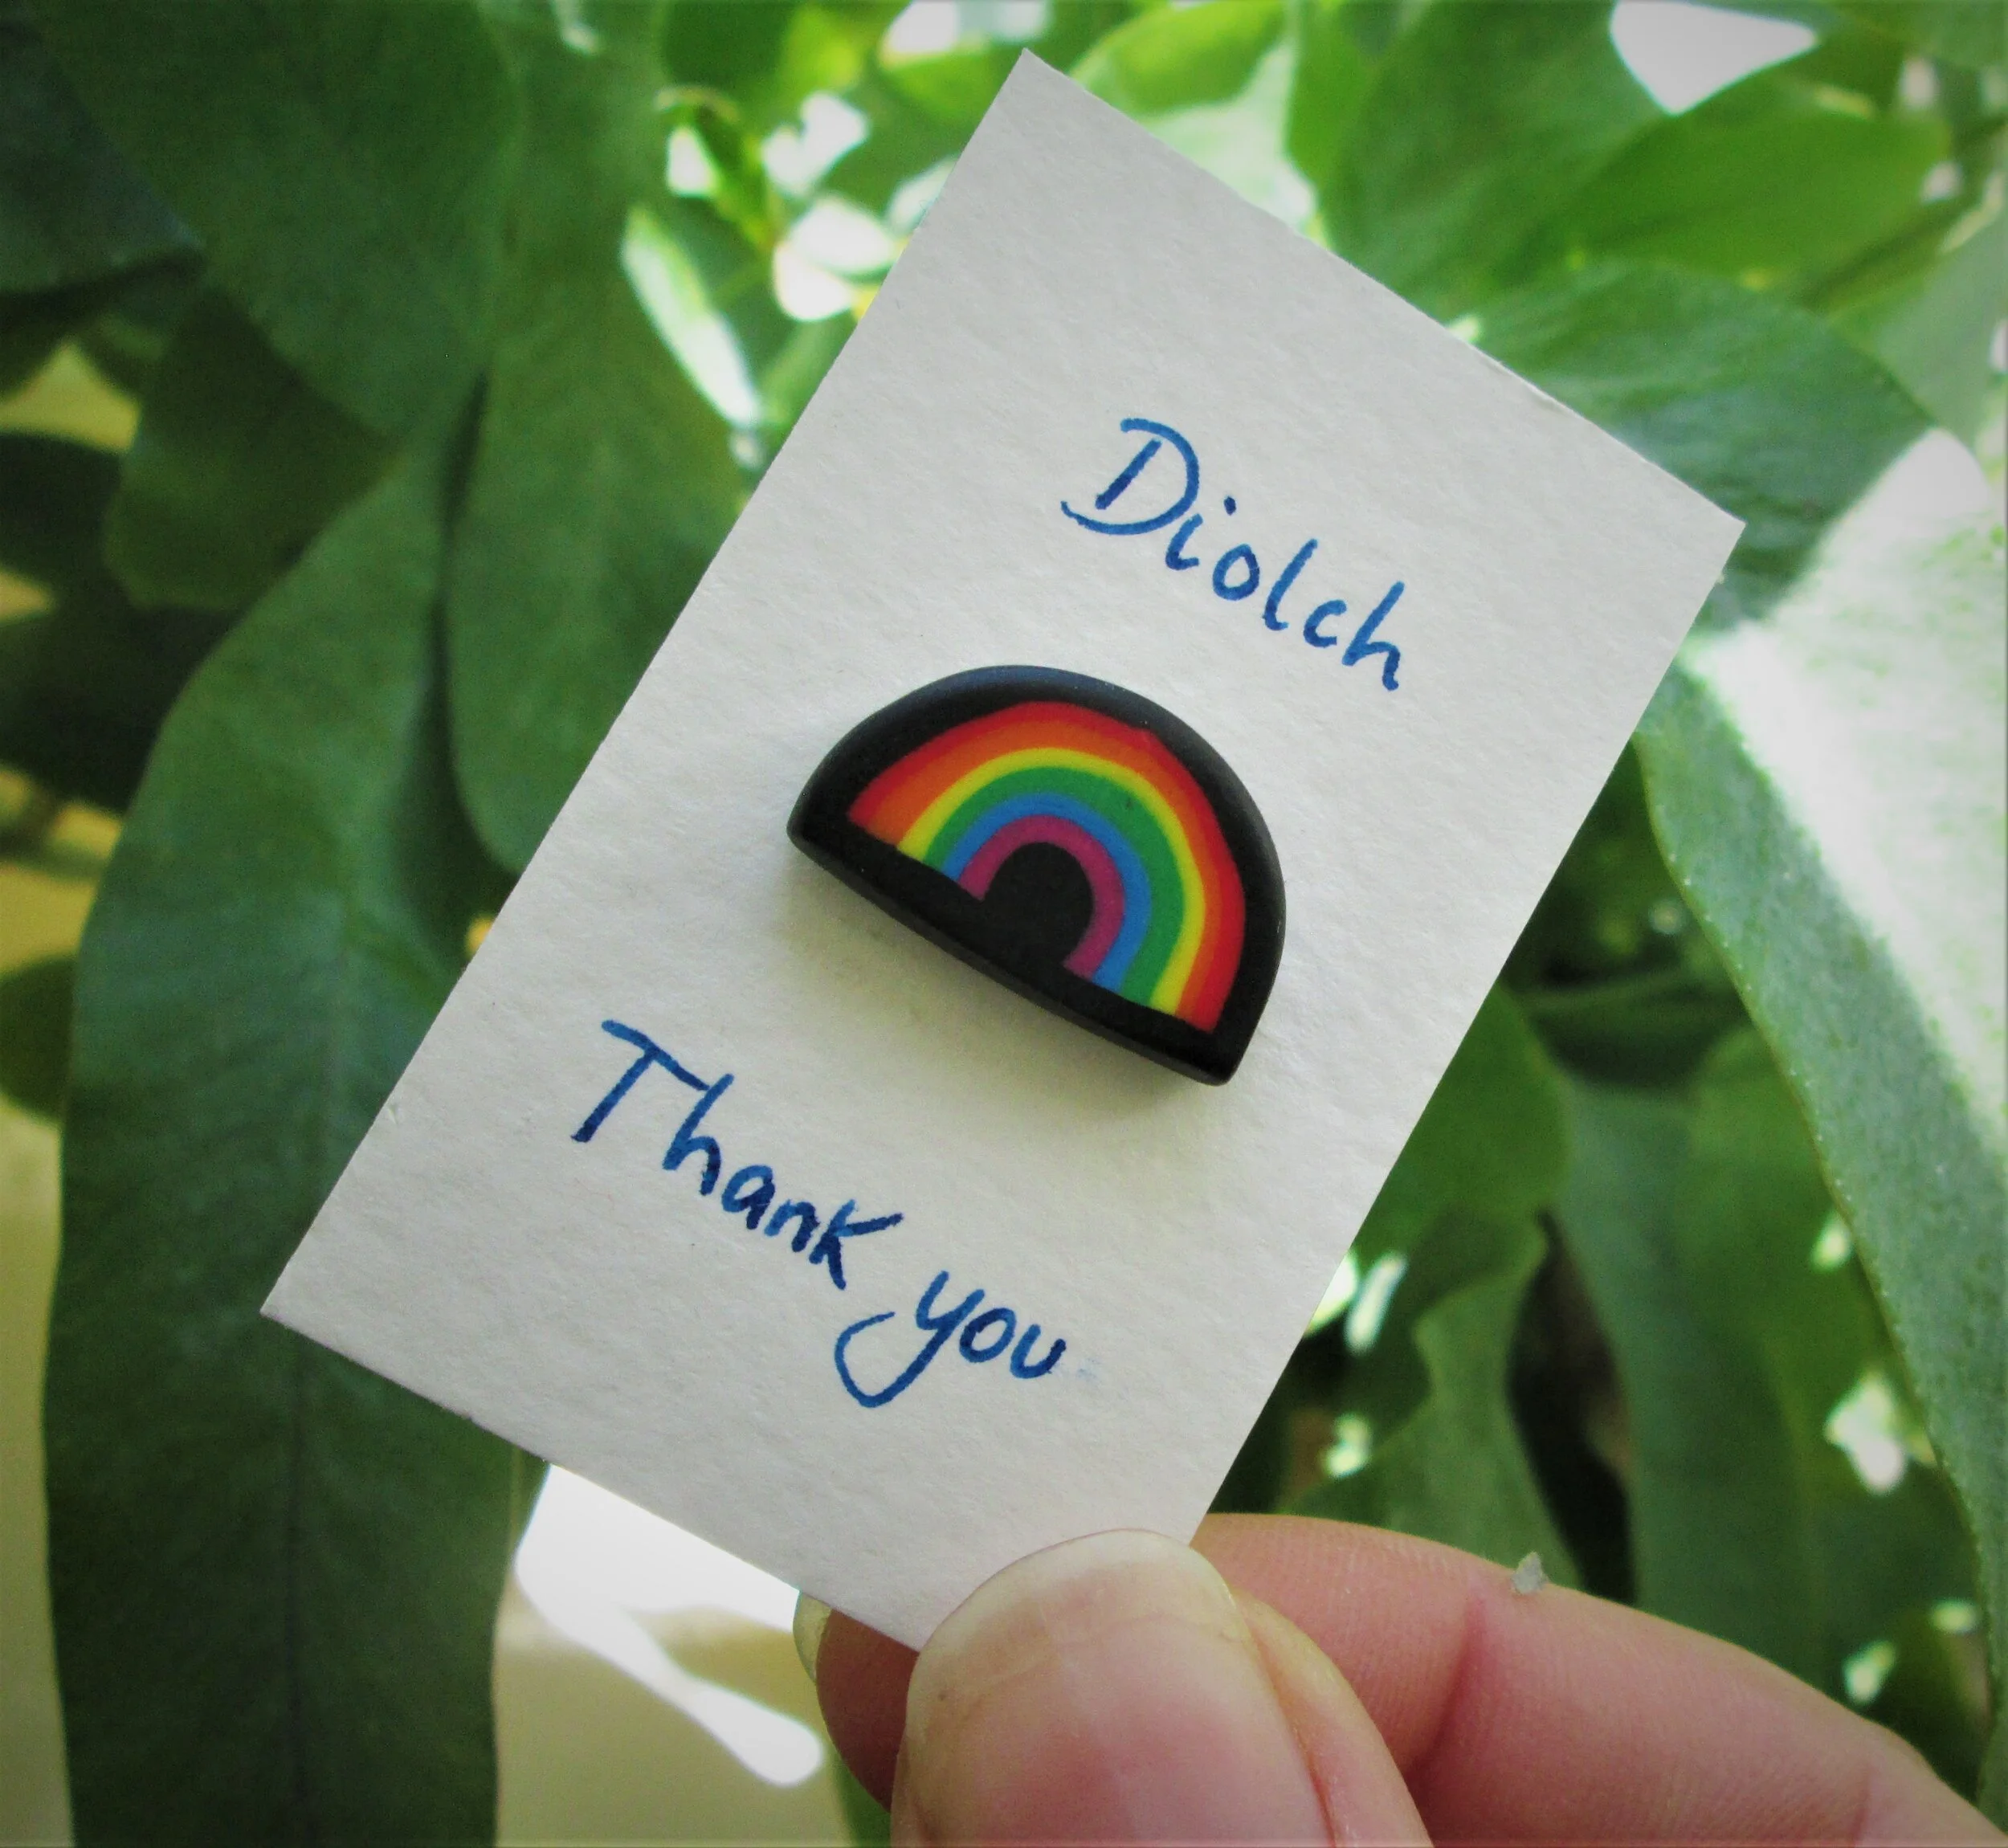
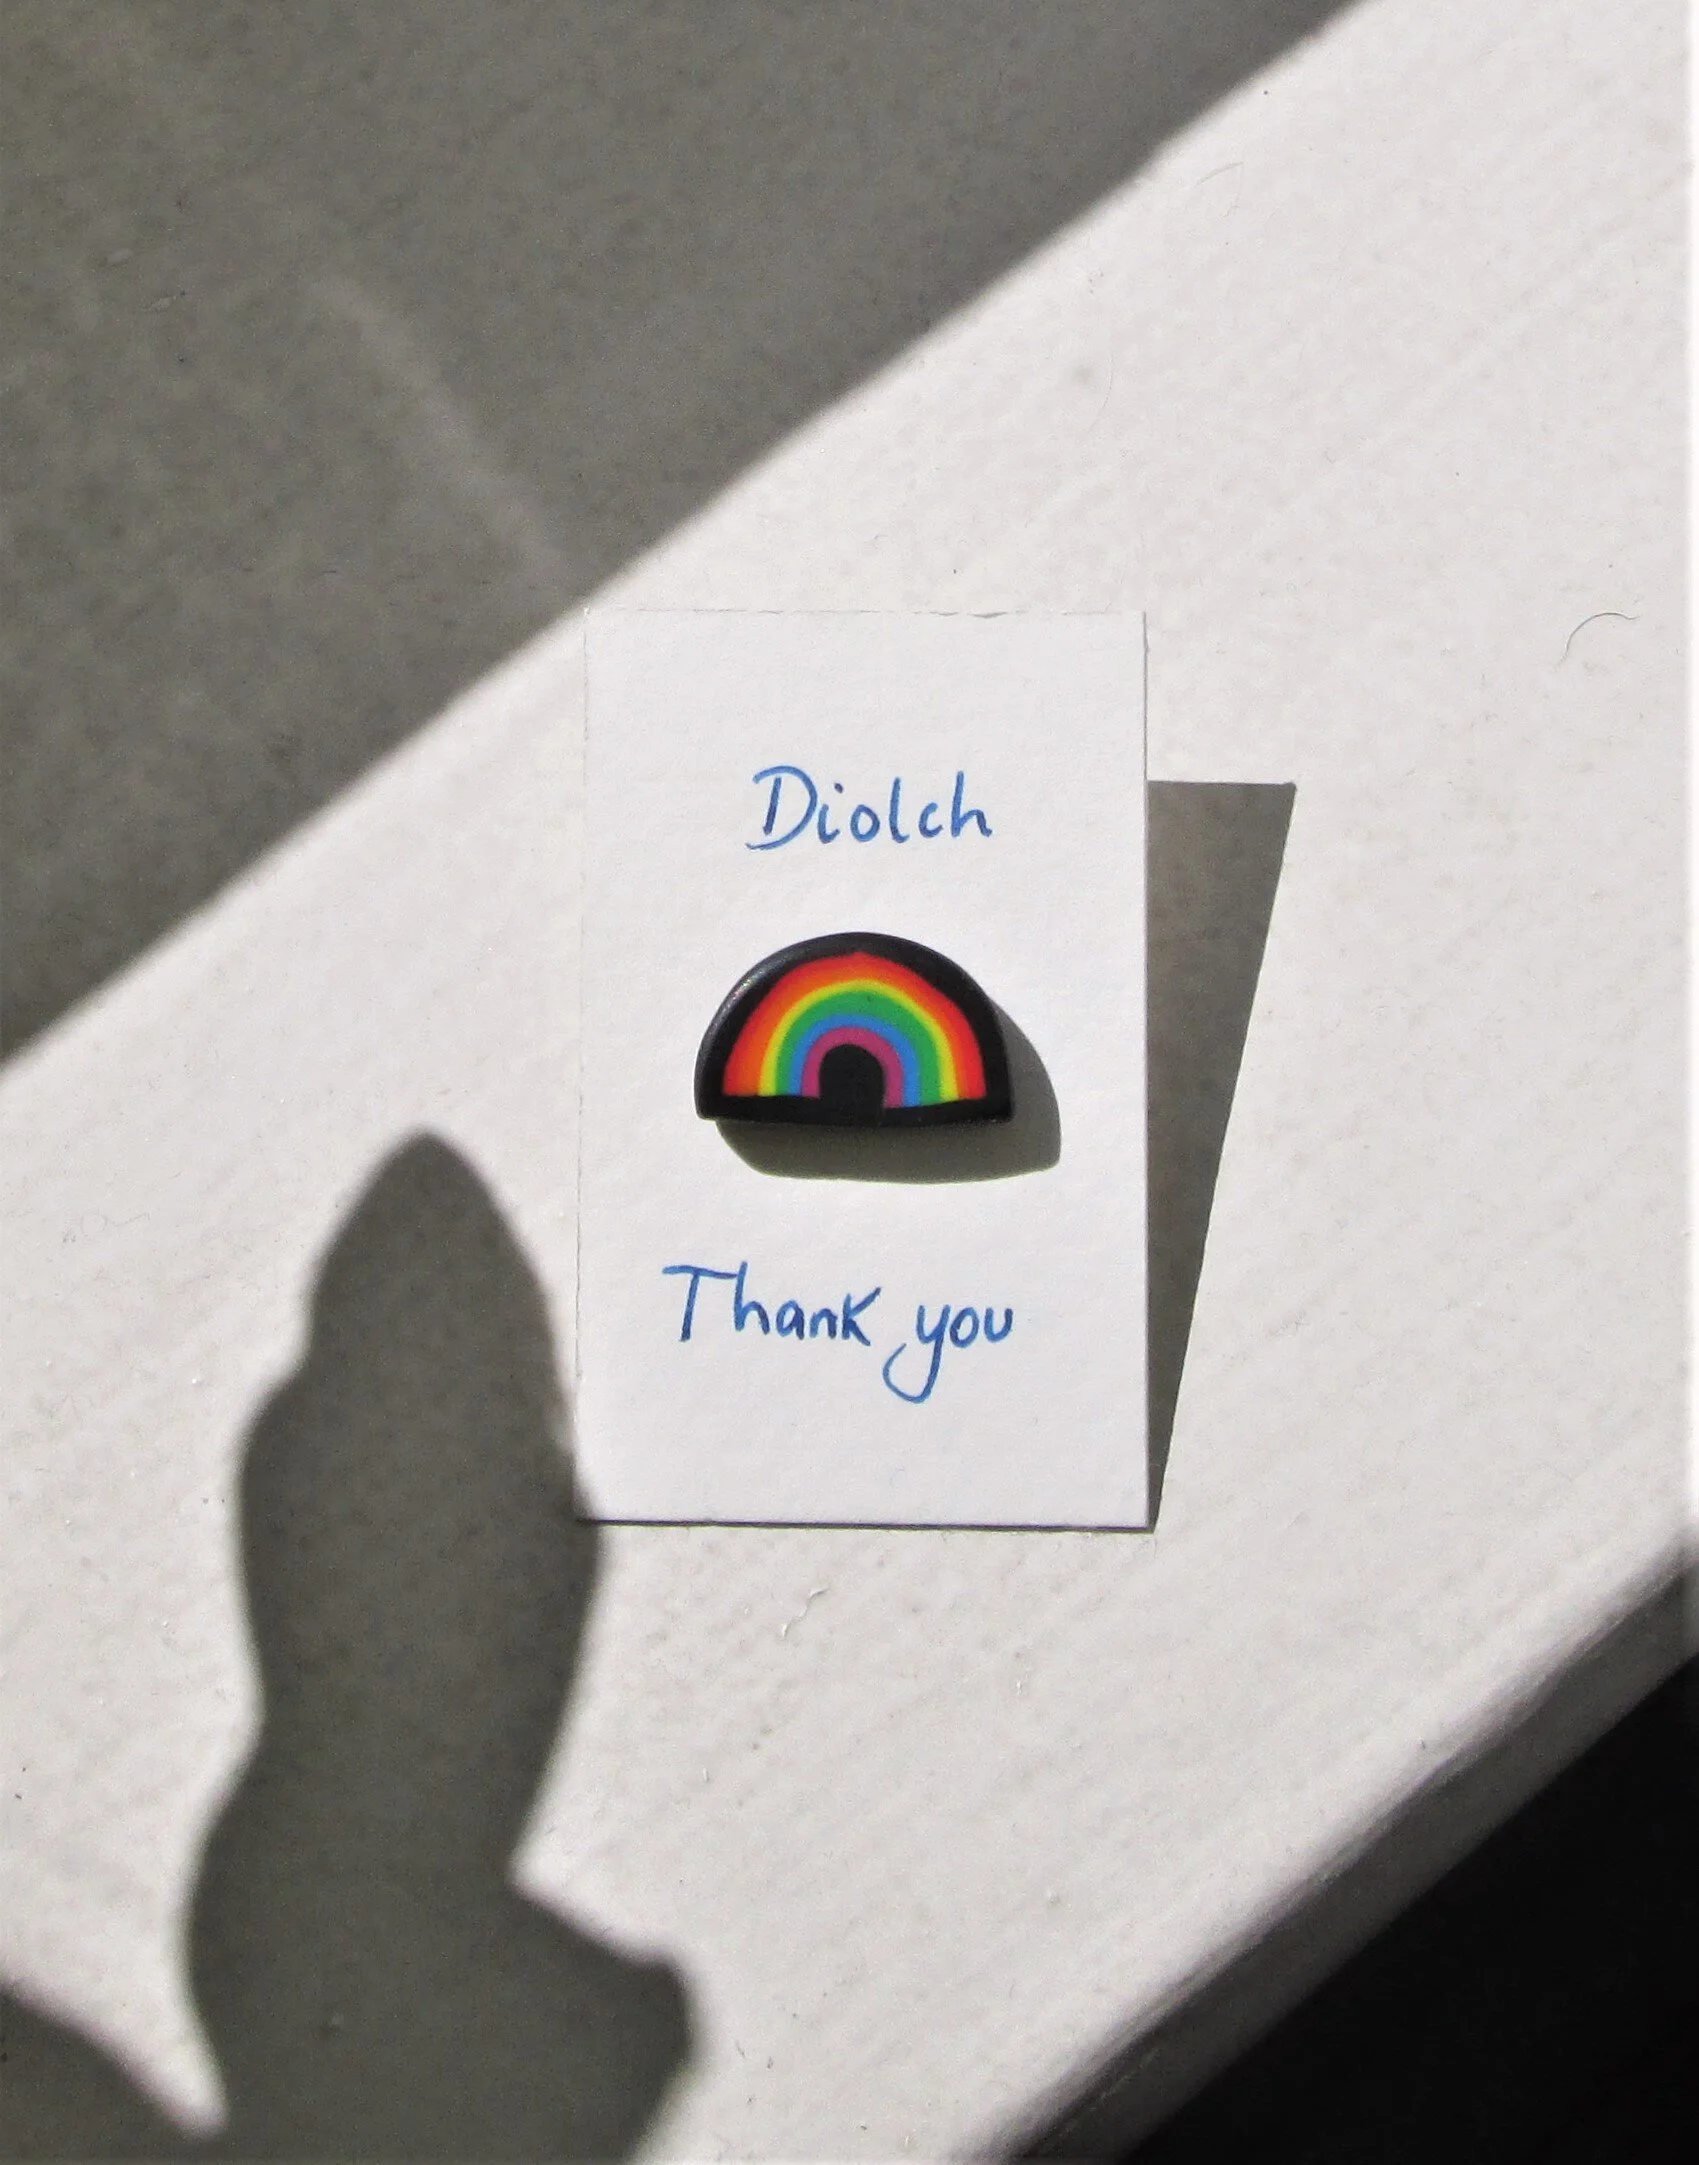
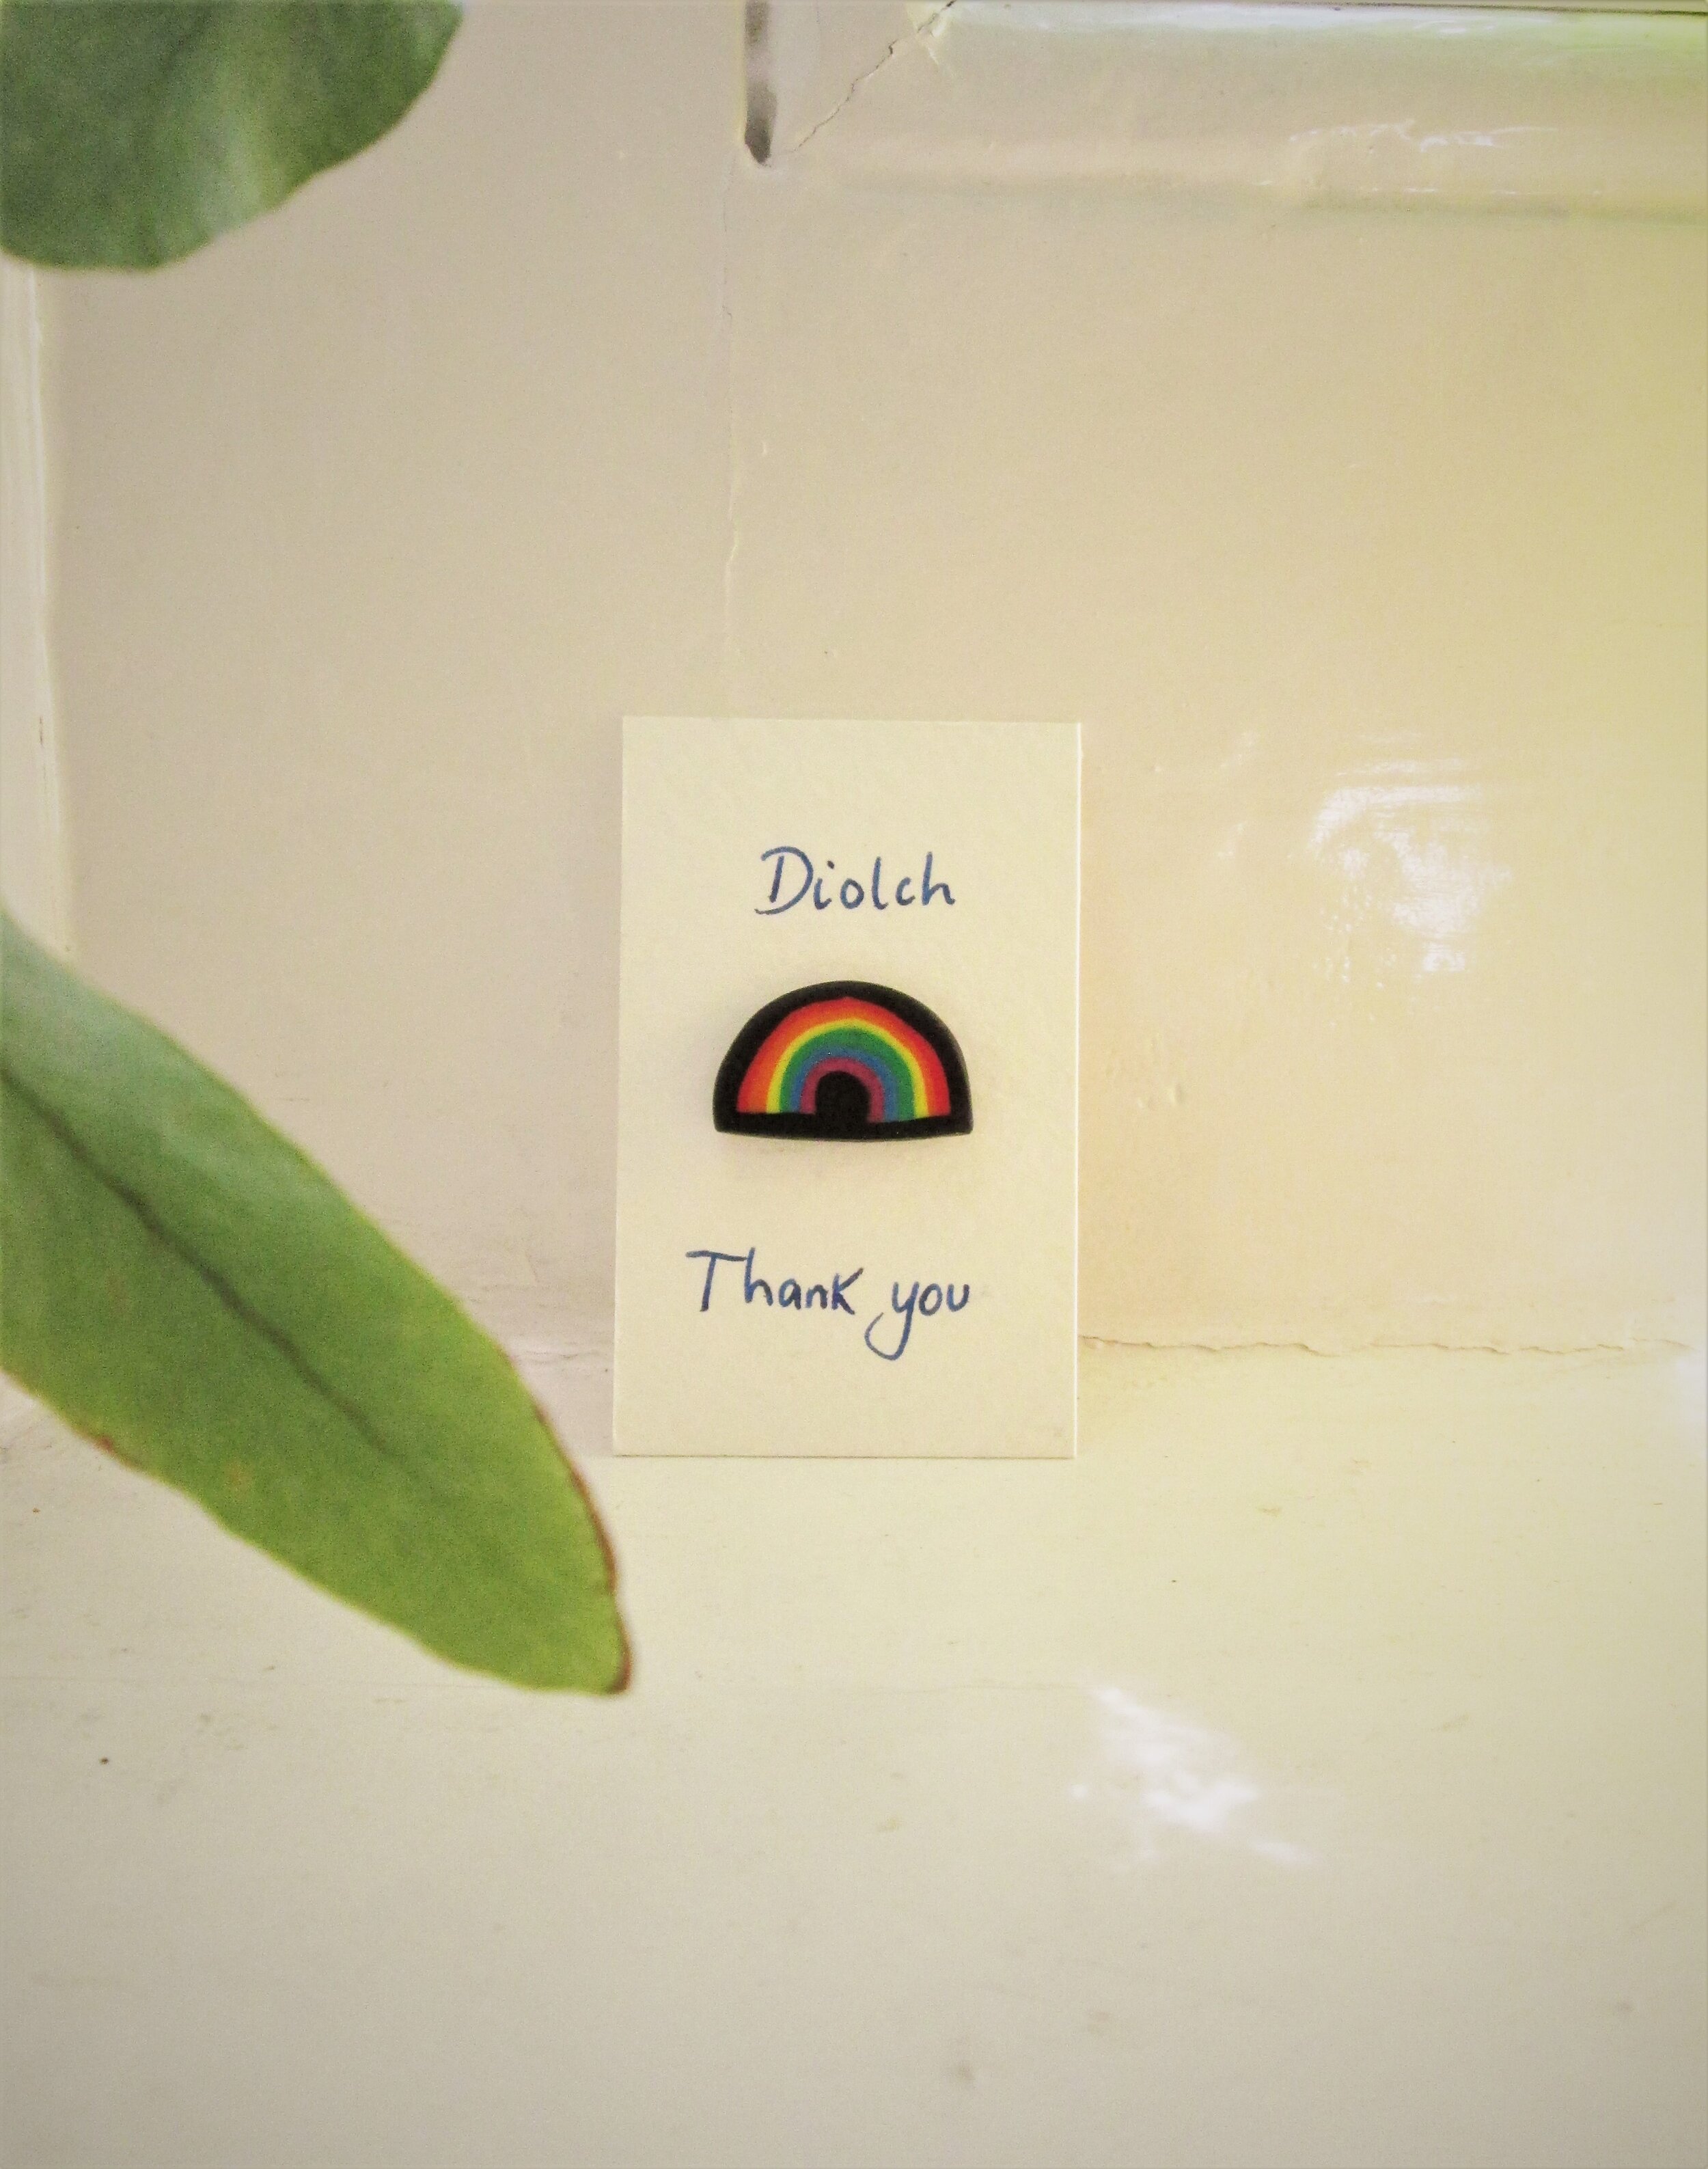
If you don’t want to make your own, I have added the pins to my shop for £6 each with £3 from each sale going to Hywel Dda, a charity supporting patients, staff and services within Hywel Dda University Health board. They exist to make a difference to the thousands of people cared for by the University Health Board across Carmarthenshire, Ceredigion, Pembrokeshire and beyond each year. THANK YOU, DIOLCH <3
Project time – 1 hour
Price – About £15 to make 10+
Pros
You only need a small space to work
No need for specialist tools
Cons
Can be a bit fiddly
Tools
Fimo in rainbow colours - this set is perfect
Lapel pins/ brooch backs - these come in a pack of 50 so you can make as many as you like!
Blade - a normal craft knife will work or I used these
Rolling pin - I used a normal wooden one but this one would be better if you fancy splashing out
Tile/piece of glass/flat plate - if you don’t have anything suitable you could use this
Grease proof paper
Baking tray
Oven preheated to 110°C

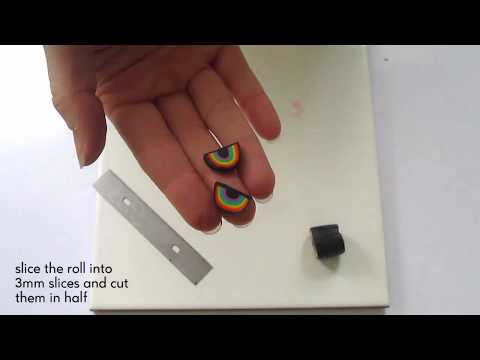
These pins are a fairly straightforward make and should only take you 30 - 60 minutes. The rainbow colours really do make me feel happy, which I guess is the point, but you are free to use whatever colours you like. Watch the video below and if you have any questions hopefully I’ve answered them in the following section. Hope you enjoy!
Tips!
Try to roll your fimo to an even thickness. This is harder than you would think, just keep checking as you are rolling. The greaseproof paper between the fimo and the rolling pin help to stop it sticking and getting messy, I would definitely recommend using it if you have some.
You can change the size of your pin by rolling the rectangles thinner or thicker. Thicker rectangles at the start will mean bigger rainbows at the end.
If you want to make lots of pins, make your rectangles wider. This way your ‘cane’/’stick of rock’ will be longer and you’ll get more slices.
When you put your two rainbows together, be careful not to roll too much. If you keep rolling, it will distort the rainbows and your pins will come out very small.
Don’t get too attached to the idea that your pins will come out perfect. They’re handmade and that is part of the charm.
If you want to do some extra finishing after you’ve baked your pins, you can use an emery board or sandpaper to sand down the edges. I have some really fine micro-mesh sandpaper which I used to get a smooth, shiny surface on the front.
I hope you enjoy making these mini pins. I know this isn’t the first fimo make I’ve cracked out this last few weeks, but its just such an easy material to work with and once you have a multipack, there are loads of little makes you can try out. This isn’t just a project for adults either…get your kids involved. Especially if they’re beyond the age of painting rainbows for the window (which no one is, by the way!). Please send me some pics if you try out this project and as always if you have any questions, type them below.