
Make your own lino printed postcards
Its super simple and really effective. Most importantly, you don’t need to be able to draw!
So just to give you a bit of an intro before I get started. At the end of February I returned from snowboarding in the French alps with my boyfriend. We passed through Heathrow and Geneva airports, twice. People were wearing masks but it wasn’t scary, we just washed our hands a lot and cracked on. When we got back to Charlie’s place in London, I decided to stay for a while (I live in Cardiff). Within a week, someone in the flat developed symptoms and not long after, London went into lockdown. I found myself in his little flat without any of my tools or materials; the only things that keep me positive in times of crisis! At this point, I started digging around looking for things to get creative with. I found an old t-shirt which I turned into a macrame plant hanger (more on that later), some Fimo which i turned into earrings and some other random bits and bobs. Then I got serious and started ordering materials online for little projects I’ve been thinking about for years. The blog is just a way to document all of this and keep those negative thoughts at bay. I also thought it might be a nice way to inspire you to get creative too, because during these weird times we’re all going to need to practice a bit of self care!
I’ve been careful to keep costs to a minimum and suggest alternative tools or materials you might already have lying around. Mostly because business has ground to a halt and I can’t really afford to be spending lots on tools I may never use again. But also because this may also be the case for you!
Project time – 3-4 hours
Price – About £15 depending on what you already have at home
Pros
You only need a small space to work
Not too much equipment
You can get as creative as you like
Great results without needing to be a professional illustrator
Cons
You need to be committed and follow it through to the end to get full satisfaction
Can get messy!
I’m going to be completely clear from the beginning here…This blog series is not meant as a tutorial series or provide ‘expert’ tips. It is just a way for me to share with you the ways in which I am keeping myself occupied during lockdown and hopefully inspire some creativity in you too.
I got the idea to make and send postcards from a friend of mine who has asked for personalised postcards for her birthday this year. I thought it was such a nice idea and a great way to celebrate with friends, particularly when you can’t be with them. I had a bit of experience with lino printing at college but otherwise I’m pretty much a beginner. It’s a really simple medium and if you have a bit of time and patience you can get some good results I think. I probably spent about an hour working out what I wanted to carve, another hour or two carving, and then minutes doing the printing (depending how many you want to print!)
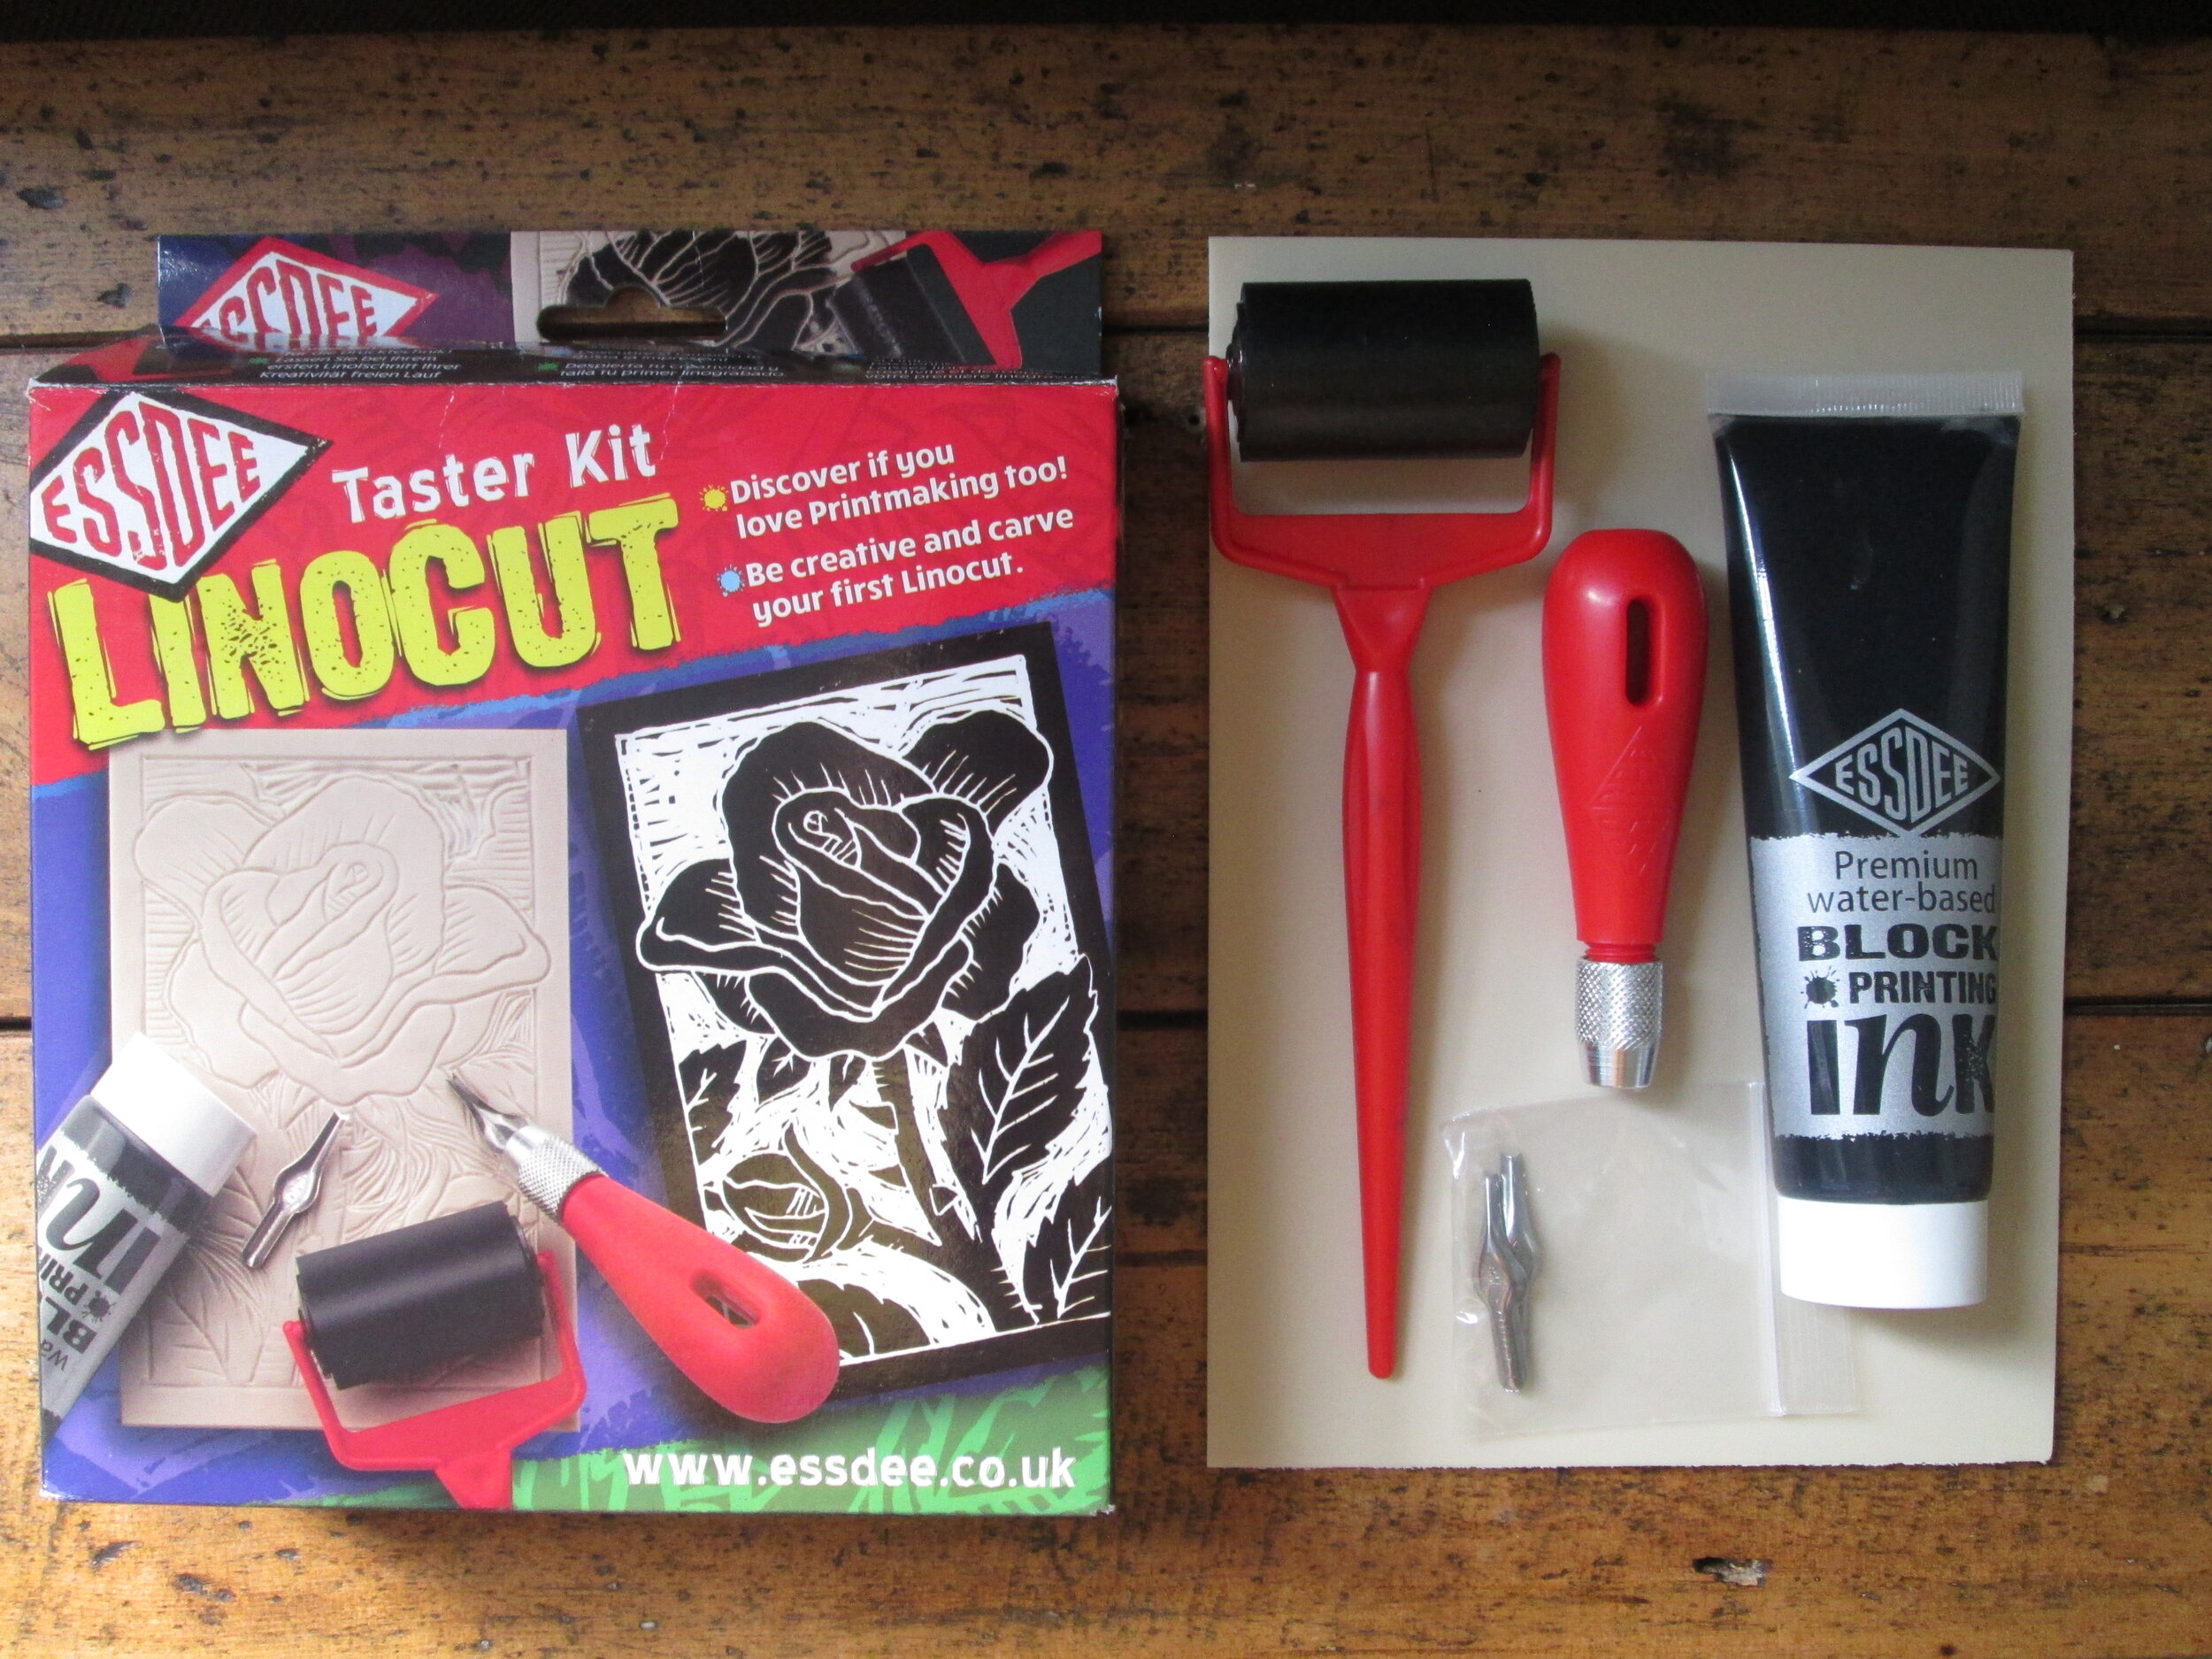
Tools
Lino printing kit - I got mine here
Postcards - I would suggest these
Paper
Pencil
Piece of greaseproof or tracing paper
Tile/piece of glass/flat plate - if you don’t have anything suitable you could use this
Dessert spoon
Newspaper
Extra lino if you get addicted! - Soft cut stuff is the easiest to use, like this


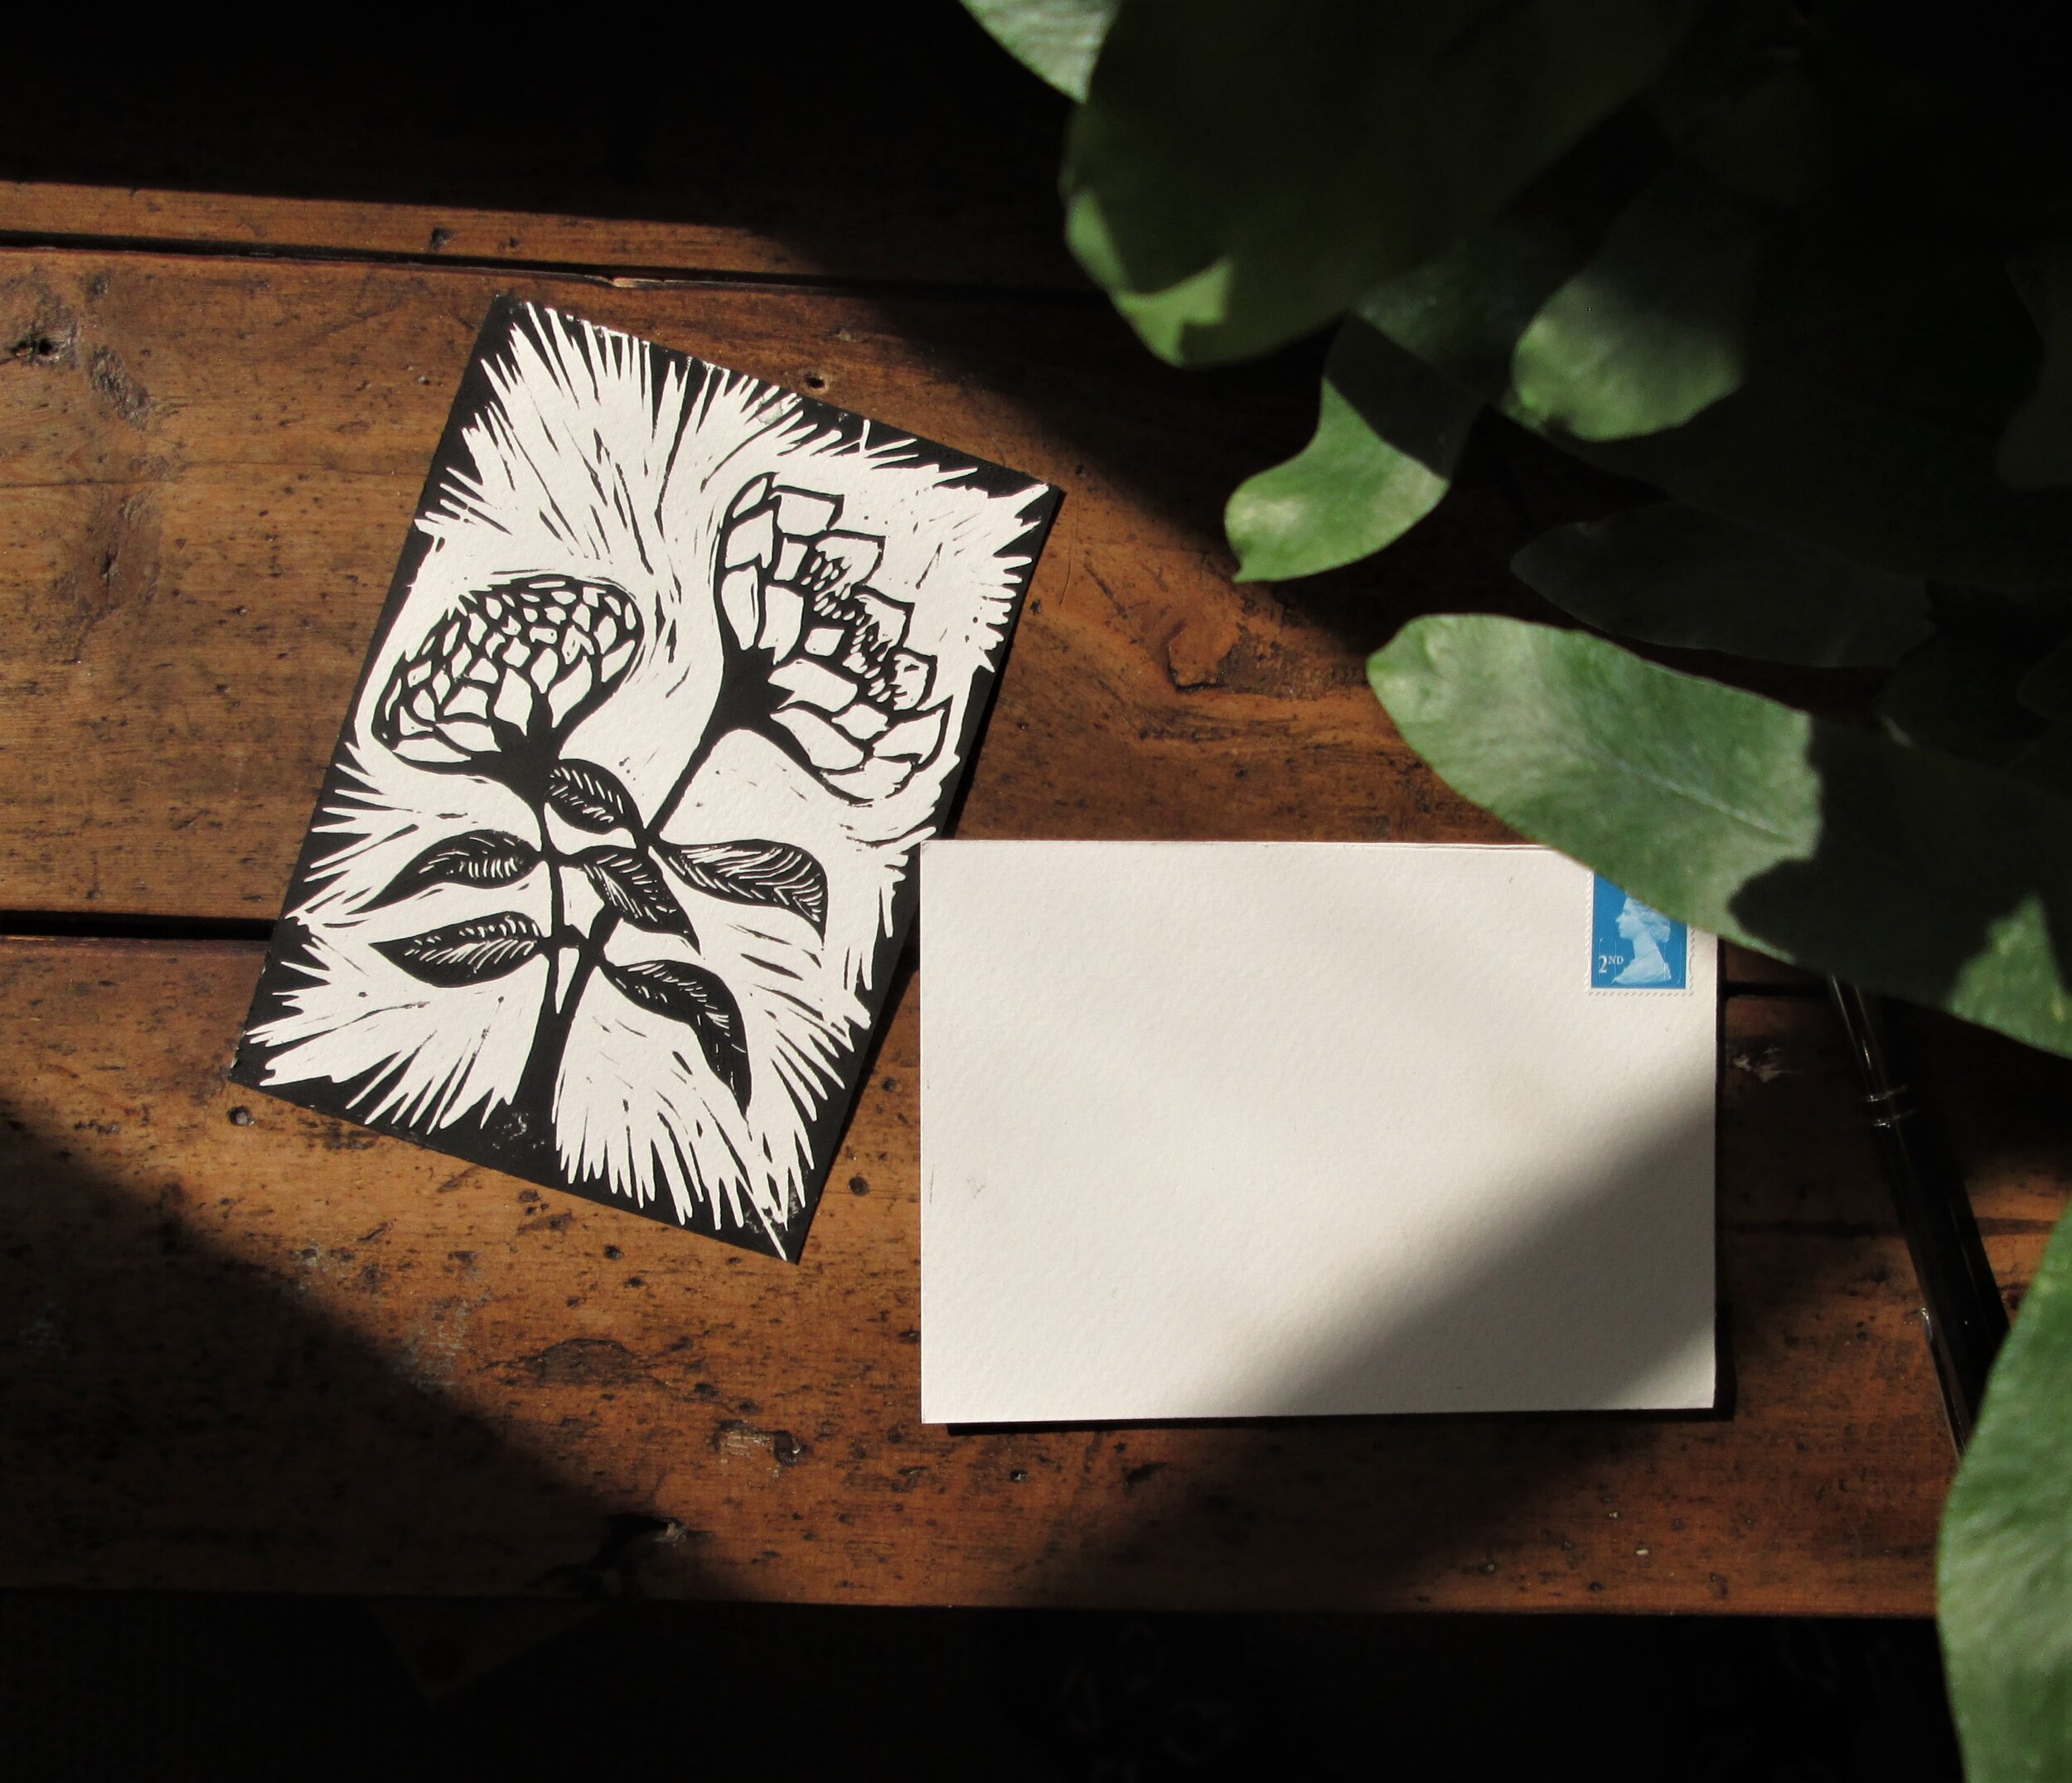
I’ve been admiring Lili Arnold Studios for a while so I used her as my inspiration and went for a flower and cactus design. Make sure you don’t go too detailed with your design as fine lines can get lost easily and you lose all your hard work. If you don’t think you’re particularly dextrous, really simple geometric or organic shapes can work really well. The kit comes with two postcard sized pieces of lino so you can cut them into smaller shapes if you want to experiment.
If you look at the leaves of the flower print I did, you can see how the fine lines look a bit lost. This isn’t really what I had in mind and i might have been able to correct it by carving the channels a bit deeper and using a smoother paper to print on.
Method
1. Start by drawing your design on paper. Once you are happy with it, use a pencil and a piece of tracing paper or grease proof paper to trace your design.
Remember if you choose to draw your straight onto the lino, it will come out in reverse. This is particularly relevant if you’ve got letters or numbers. Using tracing paper stops this from happening.
2. Transfer it onto your lino.
I just did this by pressing it all over with the back of my nail.
3. Start carving!
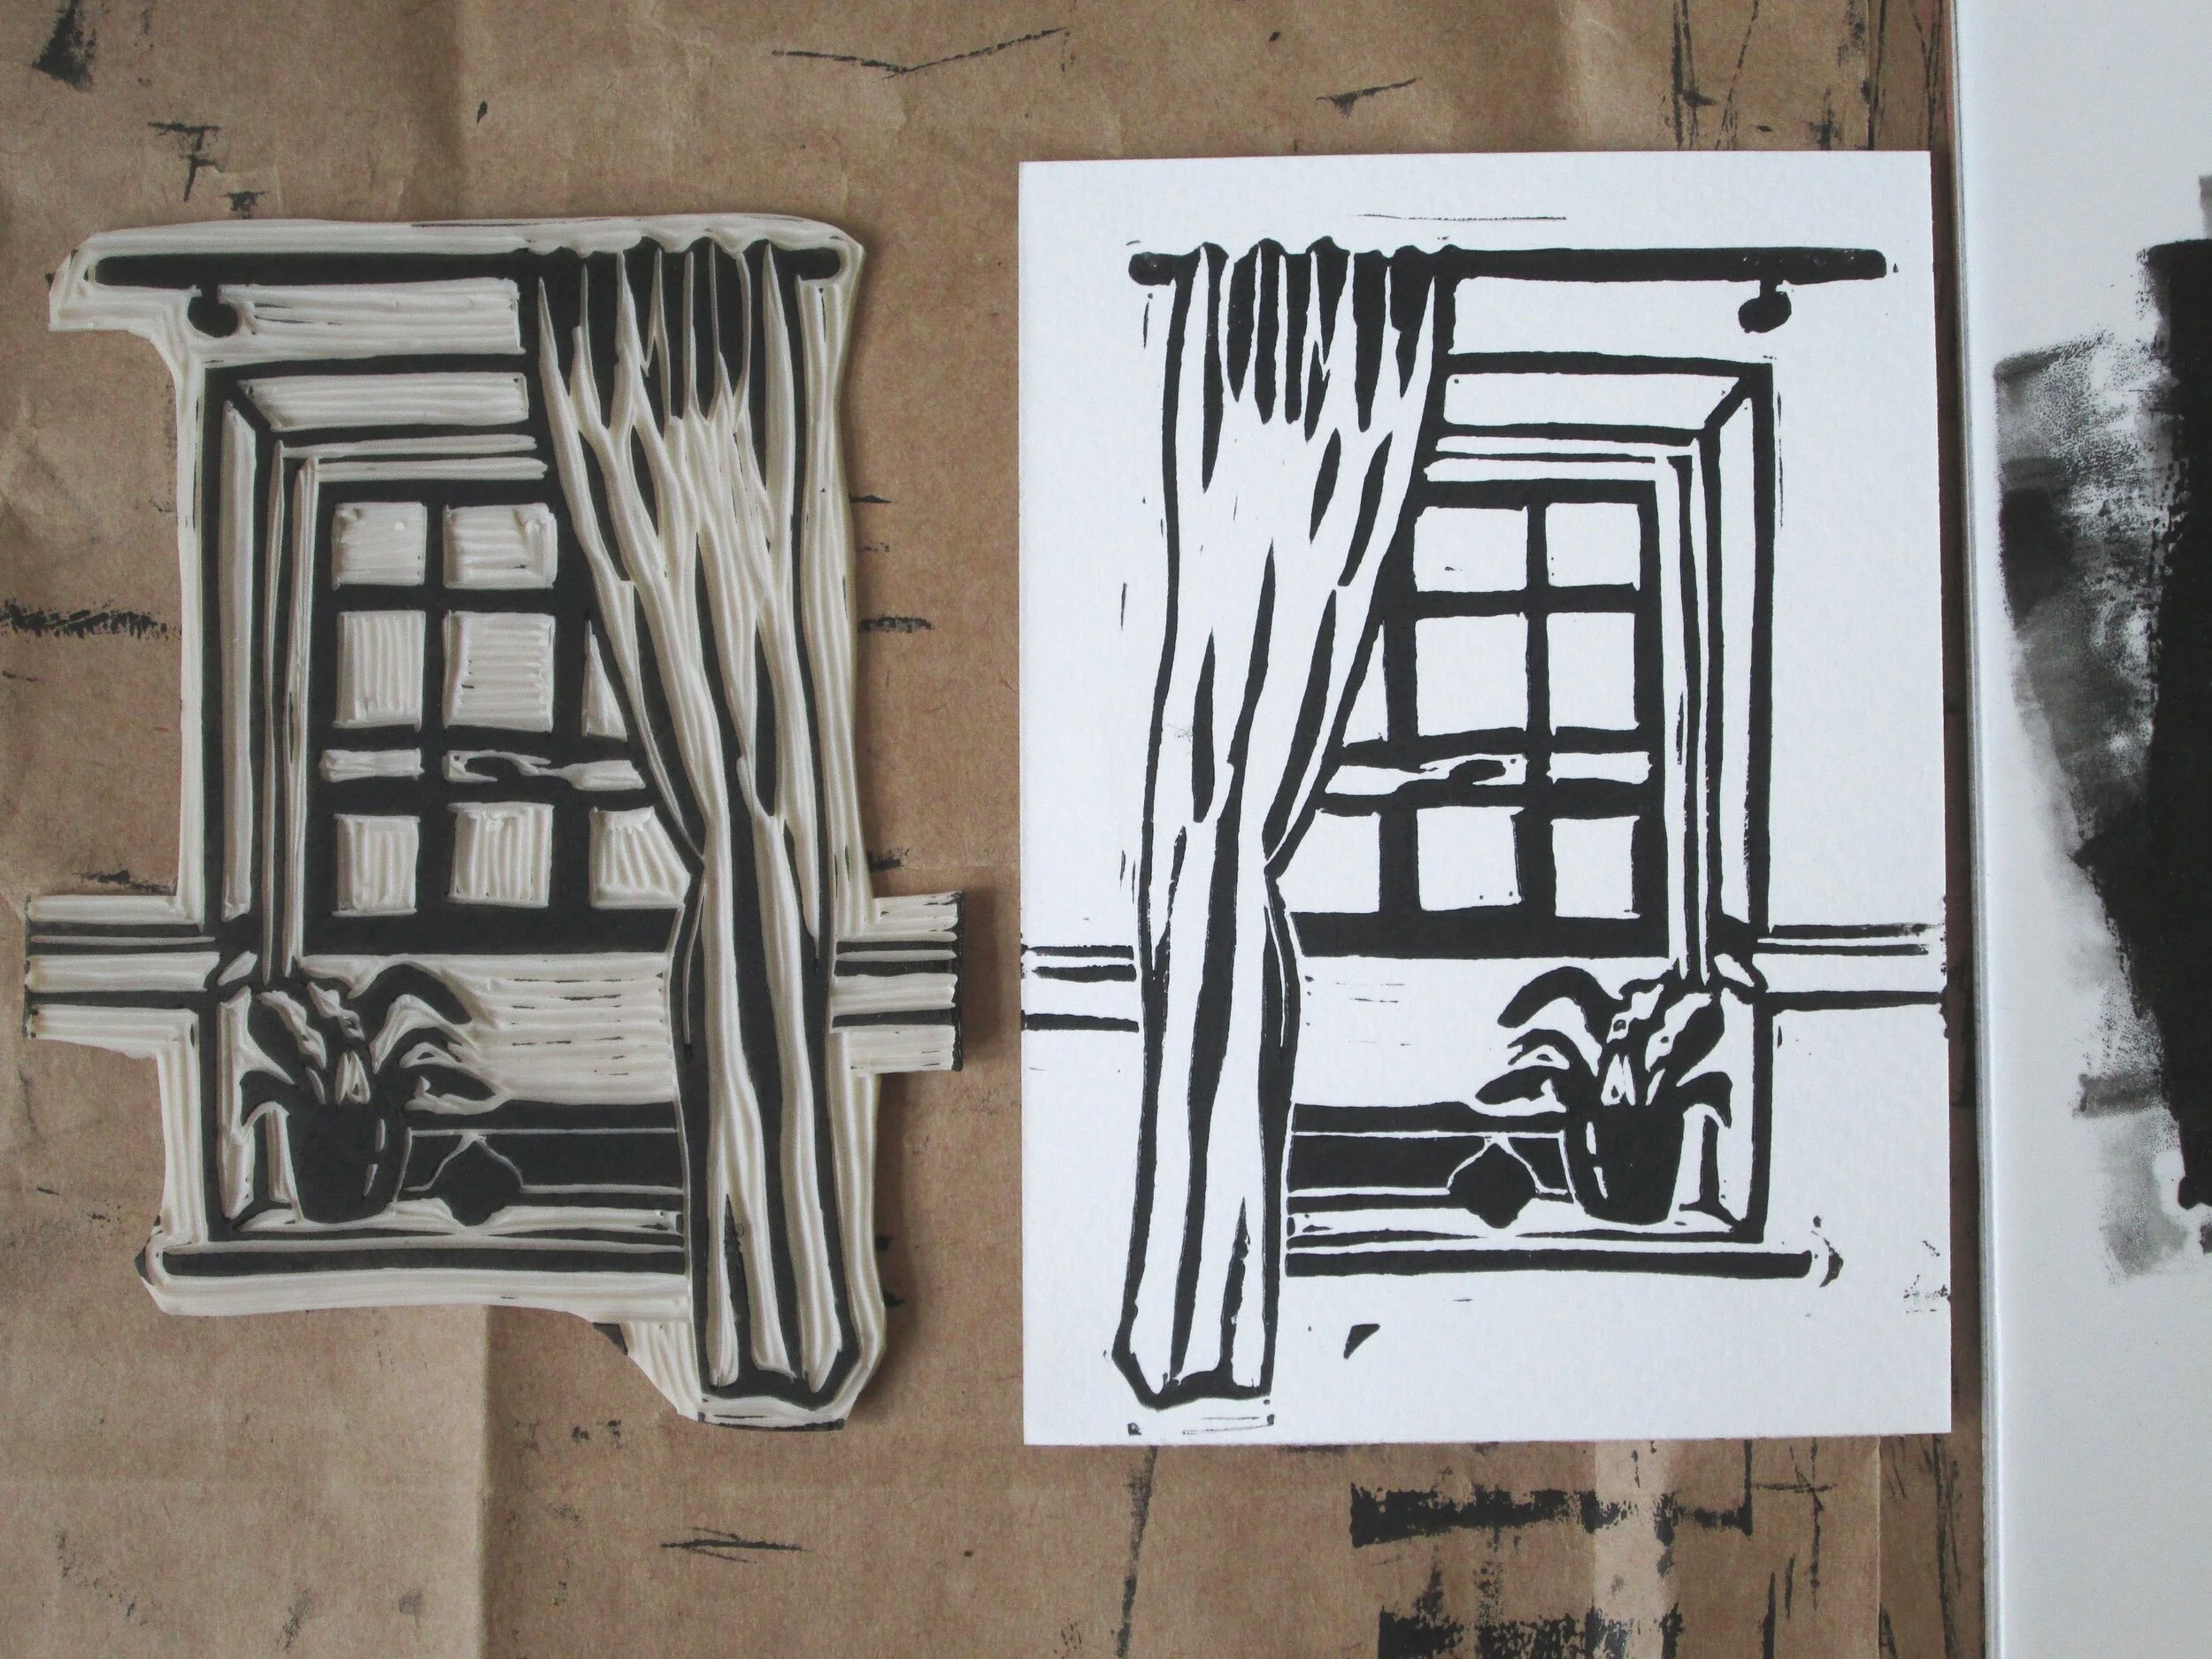
Remember that everything you take away will appear as white on your print and everything you leave behind will appear as black.
Never cut towards you, the carving tools are sharp and you can cut yourself.
If you make a mistake, you can apparently glue a piece of lino back in place with superglue and then sand it back. I’ve never tried it but it’s an option apparently.
4. Start printing
Don’t squeeze too much ink out, you can’t put it back. About half a teaspoon will do one or two prints. If you accidentally squeeze too much out, try covering it with cling film until you need it next.
Roll your roller over it a fair few times until it makes a uniform sticky sound. You want a nice even coating. You may need to try a few prints before you figure out how much ink you need. I smudged a load and made a load that were too faded before I got it anywhere near right.
Once you have coated your block, carefully place your postcard over the top. Use a desert spoon to apply pressure all over the card. Get into all the corners and press as hard as you can.
5. Peel the postcard back and you’re done!


Tips/mistakes I made
Paper quality - Use a nice smooth paper. Don’t make the mistake I did of buying watercolour postcards. I’m not too fussy so I’m going to roll with it. If you are more of a perfectionist and like nice clean lines, go for these postcards.
Lay down loads of newspaper when you are printing, its easy to get a bit of ink of your hands and accidentally touch something
Make sure you clean all your tools properly. The ink is water based so washes away with a bit of soap and water. Leave your postcards to dry fully overnight or more before you write/send/frame them.
If you need to make corrections, you still can. Just give the block a wash, wait for it to dry fully and then carve away.

I also did a little experiment with making name stamps… They’re pretty messy but a good way to use up off-cuts and maybe a nice way to sign off postcards..!?
