How To Cast Your Wax Rings in SIlver
The answer… ask a pro to do it!
I think we’re all starting to suffer a bit of lockdown fatigue now. Even though restrictions are being lifted, the really important stuff like being able to hug your friends and family still feels a long way off. I know I’m not the only person feeling this, I’ve spoken to so many friends in the last week who are feeling the same. I’ll be so grateful when I can travel back to Wales and swim in the sea without worrying whether I’m breaking the rules. I think the lockdown must be getting to the neighbours too, yesterday I listened to them having a fight through the floor for about 40 minutes. One playing his music loudly and banging the floor, and the other banging the ceiling in retaliation. The neighbours over the road however,are loving life. I got woken up by them singing Spice Girls ‘mama’ at the top of their lungs on Saturday night. Or maybe it was a special homage to their absent mothers.
On a more positive note, I’ve started making some real progress with the sandal making kits. As soon as I can get back to Cardiff, I’ll start filming the tutorial videos. I don’t have a launch date yet because I want to make sure I get them right, which could take a long time. But if you’re interested, follow me on Instagram where I do all my updates.
Project time – 5 hours
Price – £75
Pros
You get to turn your wax creations into silver!
Cons
None really!
I had intended to have a go at getting my rings cast in silver at AA Fine Castings on Holloway Road, but as my last post coincided with the release of Rose’s wax ring carving kits, she very generously offered to document the whole process of casting my rings in her workshop. So this is it! The whole process of turning a piece of wax into a beautiful solid silver ring.
Tools
Rose Wood Jewellery Sand Casting Workshop (click to view)
“Spend a day learning how to use the delft sand casting technique to cast 3D objects in silver. We will be using a silver melting furnace and pouring molten silver into our moulds to cast one off items. In small groups of up to 4, you will be shown how to clean up your pieces and turn them into finished jewellery. Skills used will be sawing, soldering, drilling and different polishing techniques. This workshop is suitable for beginners or those wanting to improve their skills”
Rose also offers a kit which includes the casting, which she does on your behalf and then posts the ring back to you. This option can be found here.
Or if you just want to try the carving before you commit to the casting, her ring carving kits can be found here. And they’re only £25!
I used to live with Rose, so I’ve spent a lot of time in her workshop. She was always very generous with her space, tools and materials and we spent a lot of time making jewellery and discussing boys we were dating. Not long after our harmonious domestic arrangement ended, she invested in a furnace to melt her silver offcuts. I’ve never seen it in action but her sand casting workshop is definitely right up there on my list of workshops I want to try. As I don’t know all that much about the process; I’m putting together Rose’s photos and giving a bit of info, unfortunately there won’t be that much detail as I don’t really know what I’m talking about!
Step 1 - carve your rings!
I have a whole blog post dedicated to this here, so I’m not going to give any detail on that process right now. But having finished wax templates is a very important part of the process!
Step 2 - make the mould
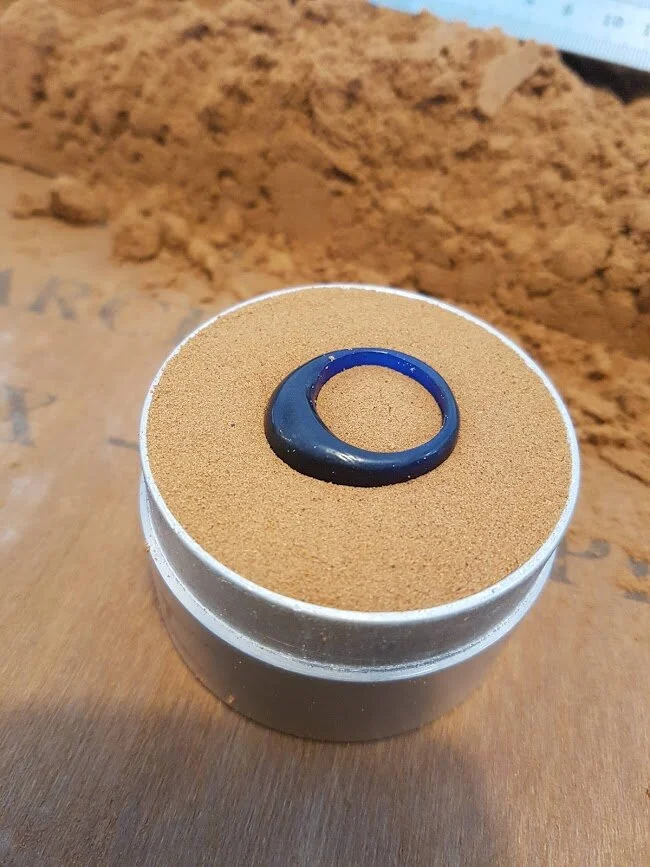
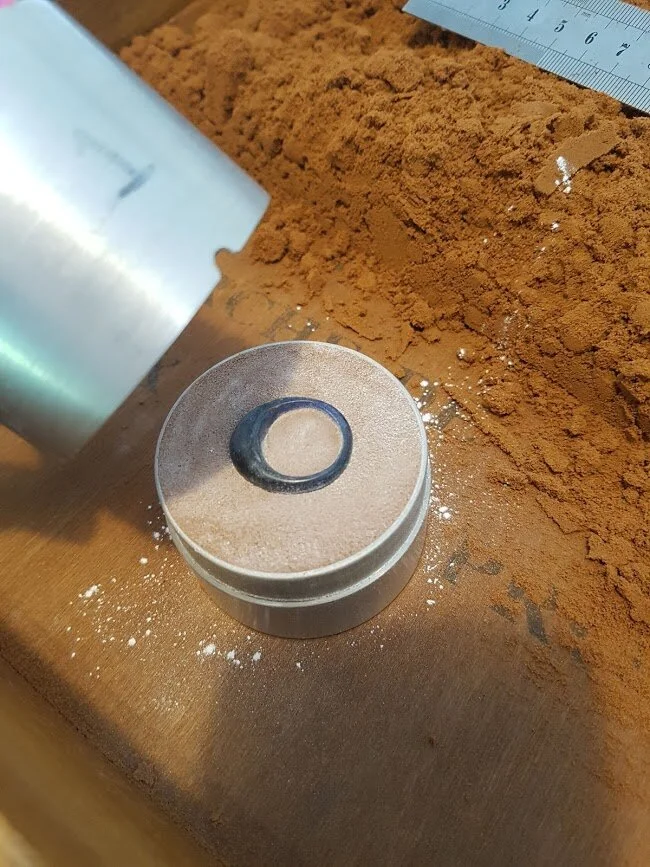
Rose uses a process called delft sand casting technique. This involves packing sand tightly into one side of a two part sand mould and pressing the wax carving into it. She then puts the second empty half of the mould on top of this and fills that half with packed down sand, encasing the wax ring. When she pulls apart the mould and removes the wax, you can see identations where the wax has been.
Pressing my little ring into the sand
Putting the top half of the mould in place
Revealing the two part sand mould
A pouring hole is carved from the sand on the top half of the mould and the two sides are joined back together. The molten silver can flow through this into the empty ring shape that has been made in between the two sides.
Step 3 - melt the silver
Rose has a little table top furnace that melts the wax safely. The video below shows her pouring the silver offcuts into the furnace.
Step 4 - pour the molten wax into the mould
Once the furnace is at the right temperature and the silver has melted, you pour the molten silver into the pouring hole you dug out in step 1.
Step 5 - open the mould!
Open the mould to reveal your masterpiece!
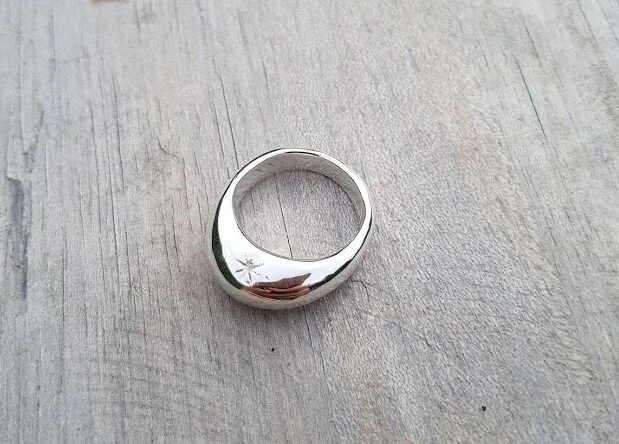
Your ring will come out looking quite different to your nice smooth wax creation. The sand is fine grain, but not that fine. You will lose a bit of detail in the process. Rose was surprised that the little star I carved made it through the casting. So this is something to bare in mind when you’re designing.
Step 6 - remove the sprue
The sprue is the channel which the silver is poured through to get into your mould. You will have a sprue with whichever casting method you choose. The silver needs to get in there somehow.
Rose does this with a piercing saw…
The ring once the sprue has been removed.
Step 7 - File and grind and sand
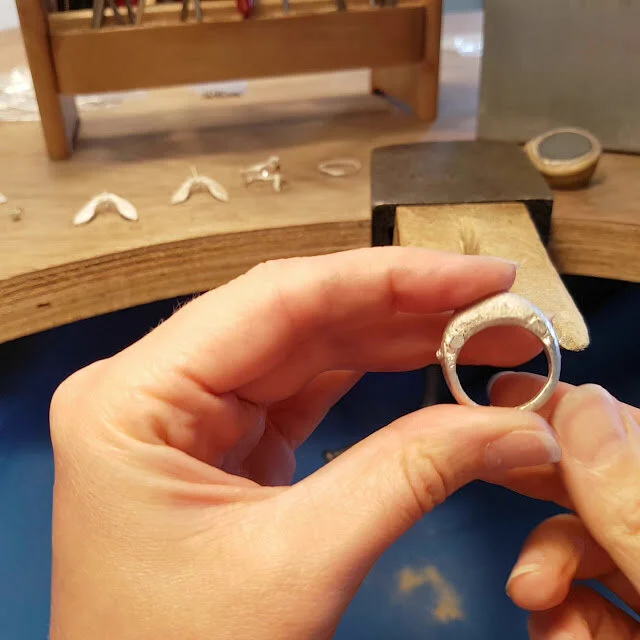
This is when you need to put some work in. It’s a satisfying part of the process, but quite hard work. First you need to file down any lumps and bumps including where the sprue was attached. There’s a special technique to this that makes sure you don’t take too much silver off in the wrong place and helps you stay on track. Again, something I don’t really know that much about, but Rose does!
And that’s the ring after its been filed and smoothed off. It’s looking much more like the wax ring now. The wooden thing it’s sitting on is called a bench peg and it’s a piece of equipment that helps you get to all the different angles of your project easily. Particularly useful when you’re sawing out shapes.
Then you file/grind/sand with a finer grain tool attached to a Dremmel or pendant drill. This is my favourite tool because it smooths off any disasters you may have had in the previous stage. These attachments are called silicone rubber wheels and they contain an abrasive compound that leaves a lovely satin finish.
Step 8 - Polish
Time to polish those babies. I tend to get a bit obsessive at this stage and am never sure whether something is finished. First you polish with an abrasive polishing compound that smooths everything off nicely, and finally jewellers rouge. The rouge will give your jewellery a mirror like finish, it’s amazing. Check out the video below.
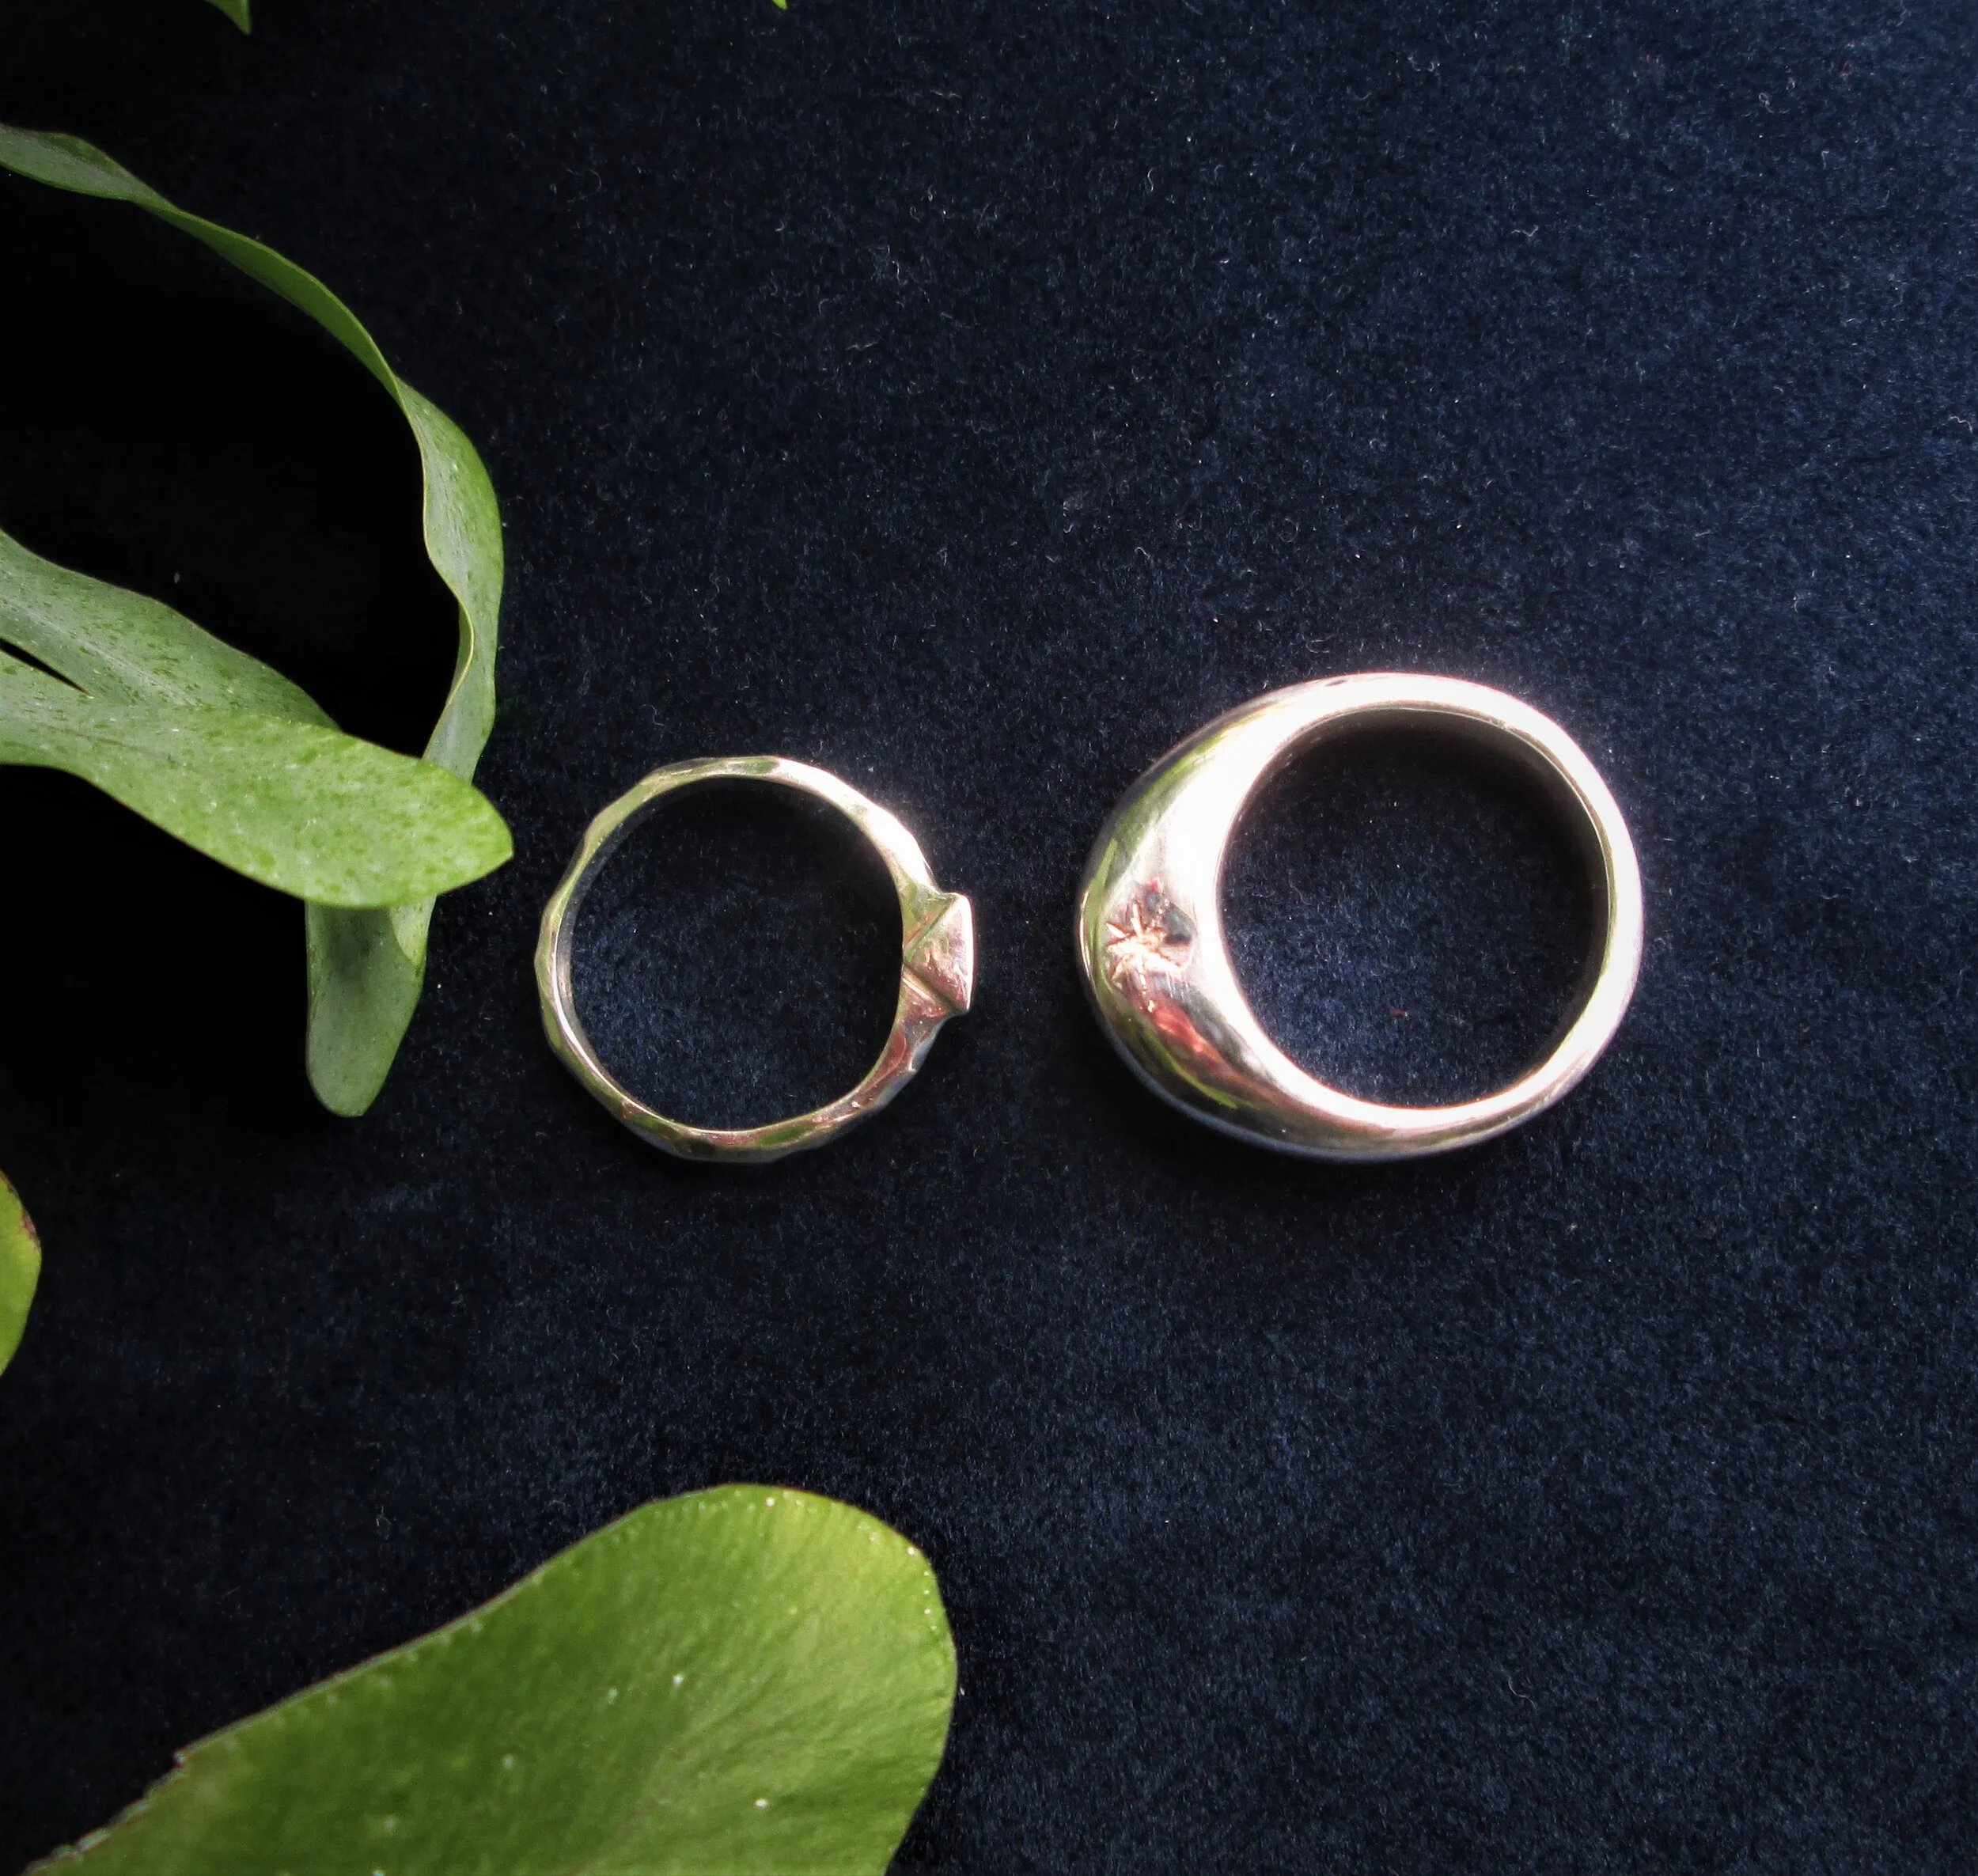
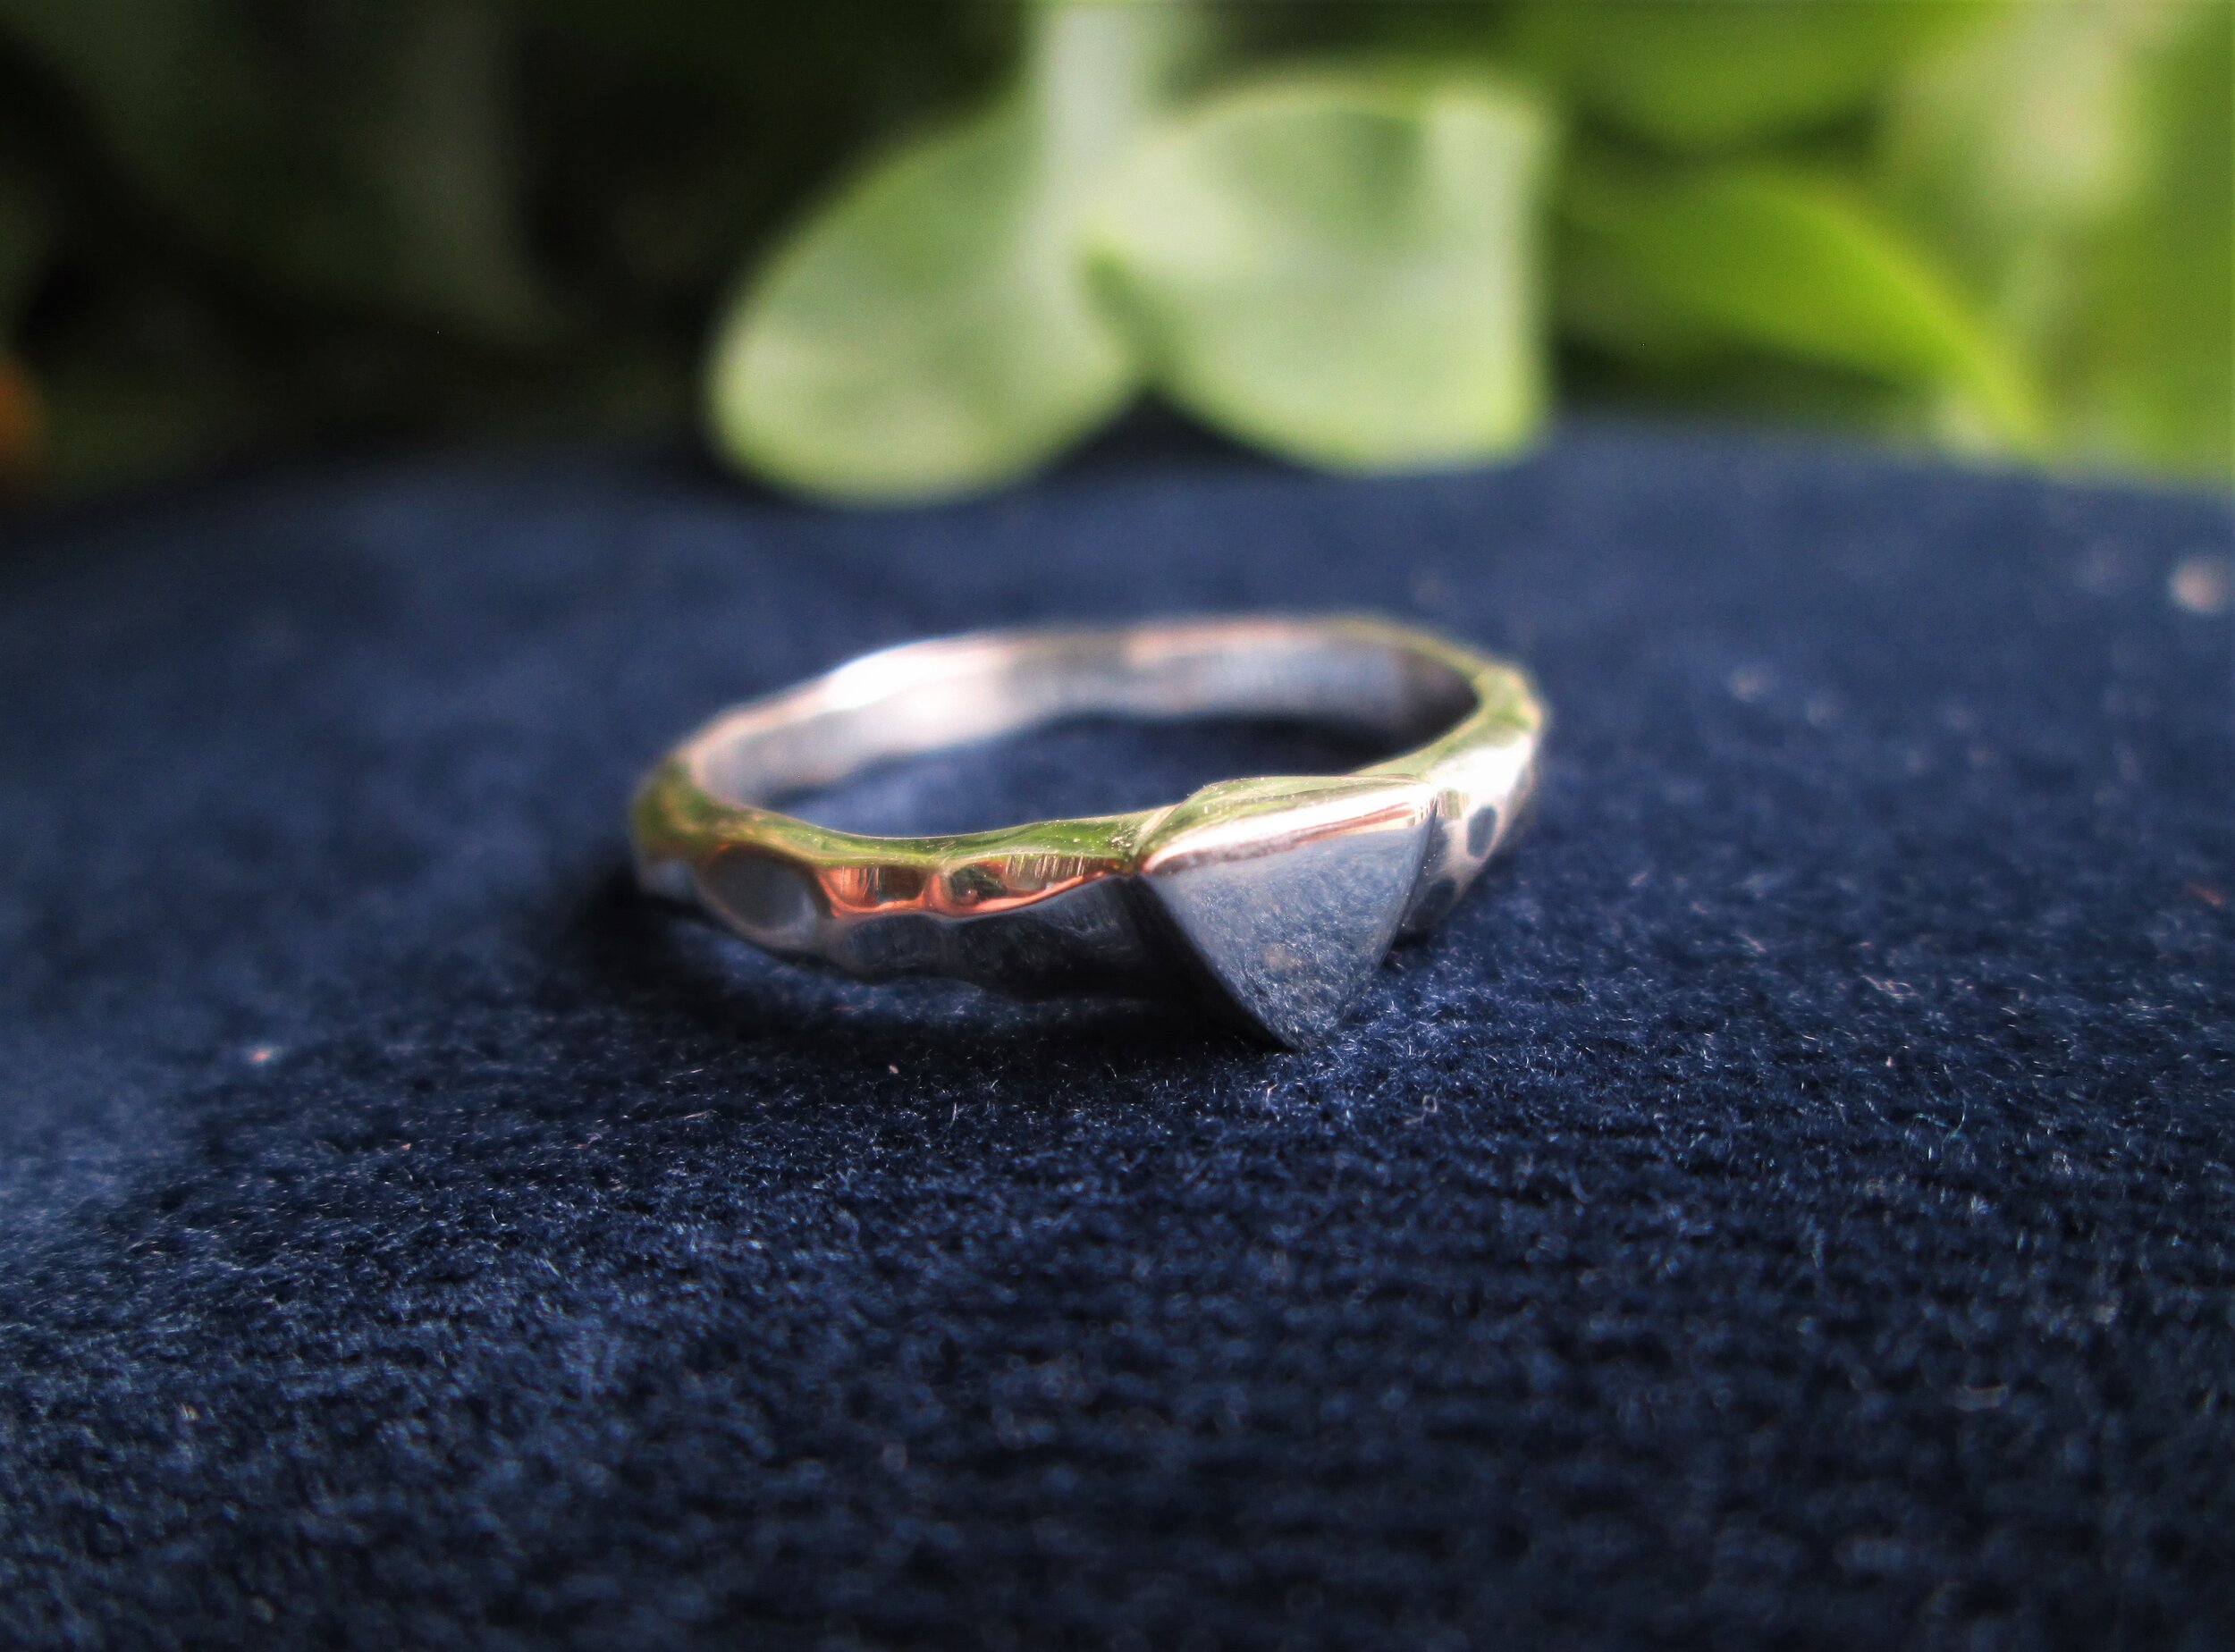
And that’s the whole process. Rose cast two of my rings and I wouldn’t be able to say which of them I prefer. The big bulbous one has a lovely weight to it whereas the small geometric one has a really interesting finish and feels much more unique. I think the most important thing to consider if you choose to sand cast, is that you won’t get fine detail in the same way as lost wax casting. It is however a much more exciting process that you can do yourself with Rose, which gives your ring a unique provenance and connection to the maker.

